
Preserving - Part 5
Canning Veggies
Water bath vs. Pressure Cooker
All of the canning I’ve done has used the water bath method. It’s cheap & easy, but a tad time consuming.
Pressure cookers use both heat and pressure to process the veggies. This saves time and you can process/can many different types of veggies & beans. If you’re looking to do a lot of canning, it might be worth investing in (or borrowing from a friend).
Water bath canning is idea for canning fruit, jam, pickles, and tomatoes. You can also can tomato sauces and salsas this way. These are good canning projects for beginner canners :).
In this section we’ll be only looking at water bath canning, and we’ll focus on tomatoes and tomato sauce.
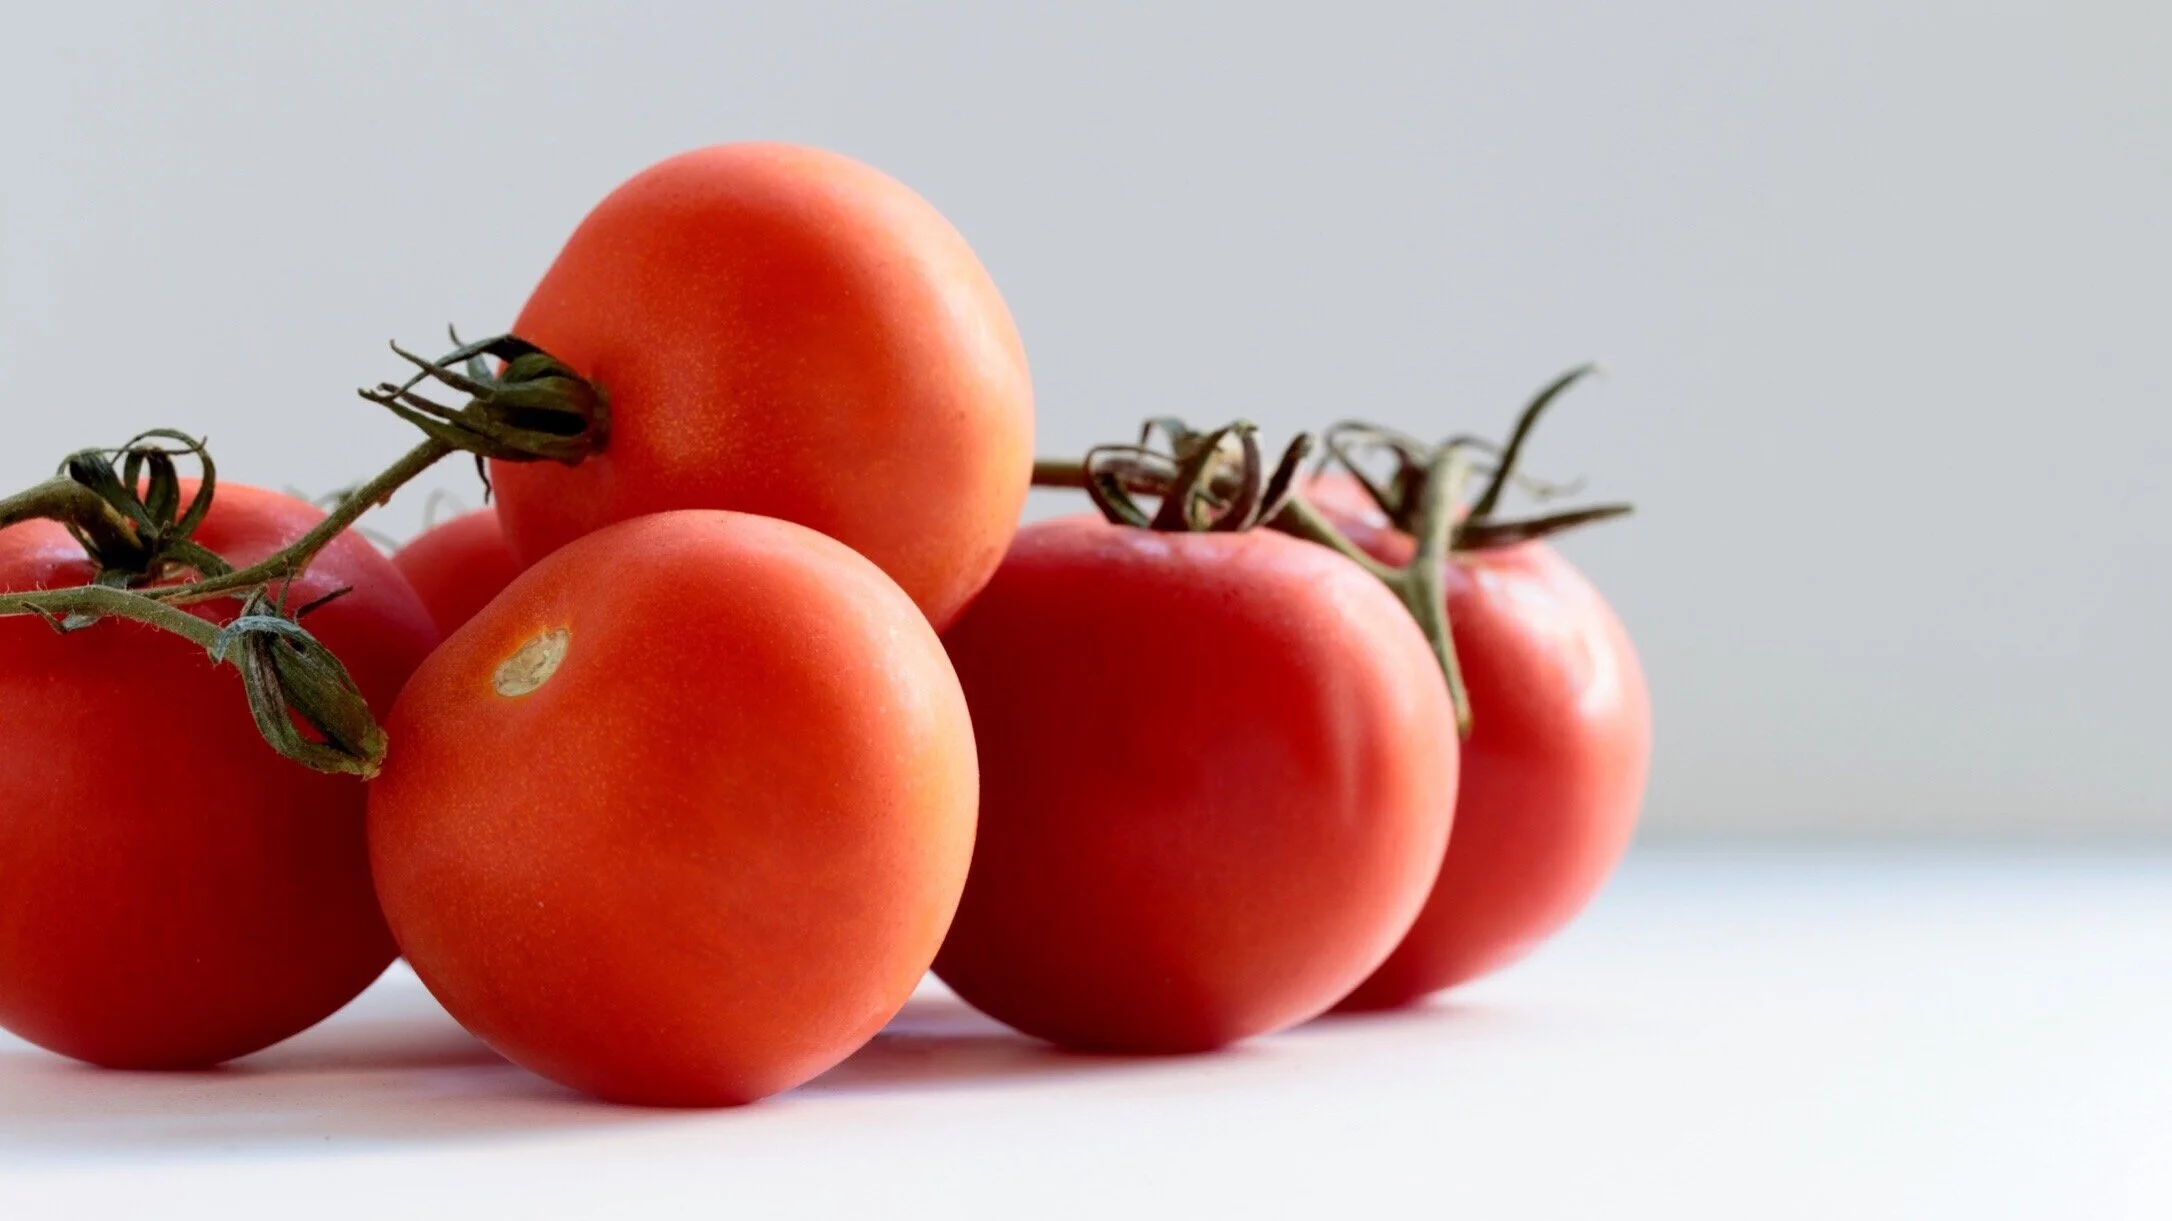
Canning tomatoes
This is a bit of a labor intensive process, but it’s relatively easy to do. I’ve found that this is ideal for a canning party, time goes by quickly and the process runs really smoothly with more hands on deck. But, you can also do it with your own two hands, just be sure to play some great music :)
What you need:
15 pounds ripe whole Roma tomatoes
3/4 cup lemon juice (bottled preferred)
6 quart-size (1 litre) jars (with rings and new sealable lids)
How to:
Gather all of the ingredients
Sterilize the jars and lids (instructions here).
Bring a large pot or canning kettle full of water to a boil.
As the water comes to a boil (which can take a while), use a sharp knife to cut a small "x" in the bottom of each tomato.
Prepare a large ice water and set it near the pot.
Once the water is boiling, put in the tomatoes. Cook them for about a minute, then lift them out with a slotted spoon and transfer them directly into the ice water so they can cool quickly.
As soon as the tomatoes have cooled off enough so that you can handle them easily, use a sharp paring knife to remove the tomato skins. Having blanched them, the skins should slip right off without too much fuss.
Put a tea kettle full of water on to boil.
While the water is boiling, put 2 tablespoons bottled lemon juice in each jar. Stuff the jars evenly with the tomatoes. If you don't care how "whole" they are in the end, really cram them in there, releasing the juices from some to create enough liquid to cover them. Cover the tomatoes with boiling water from the tea kettle, if needed, leaving 1/2 inch of headspace at the top of the jars.
After wiping the edges of the jars clean, place the lids and rims on the jars, set the jars in the canning rack, and lower them into the boiling water in the canning kettle or other large pot. Cook, with the water boiling the whole time, for 45 minutes.
Remove cans from their water bath and set them on a counter to dry and cool. Store jars in a cool, dark place until you’re ready to use them
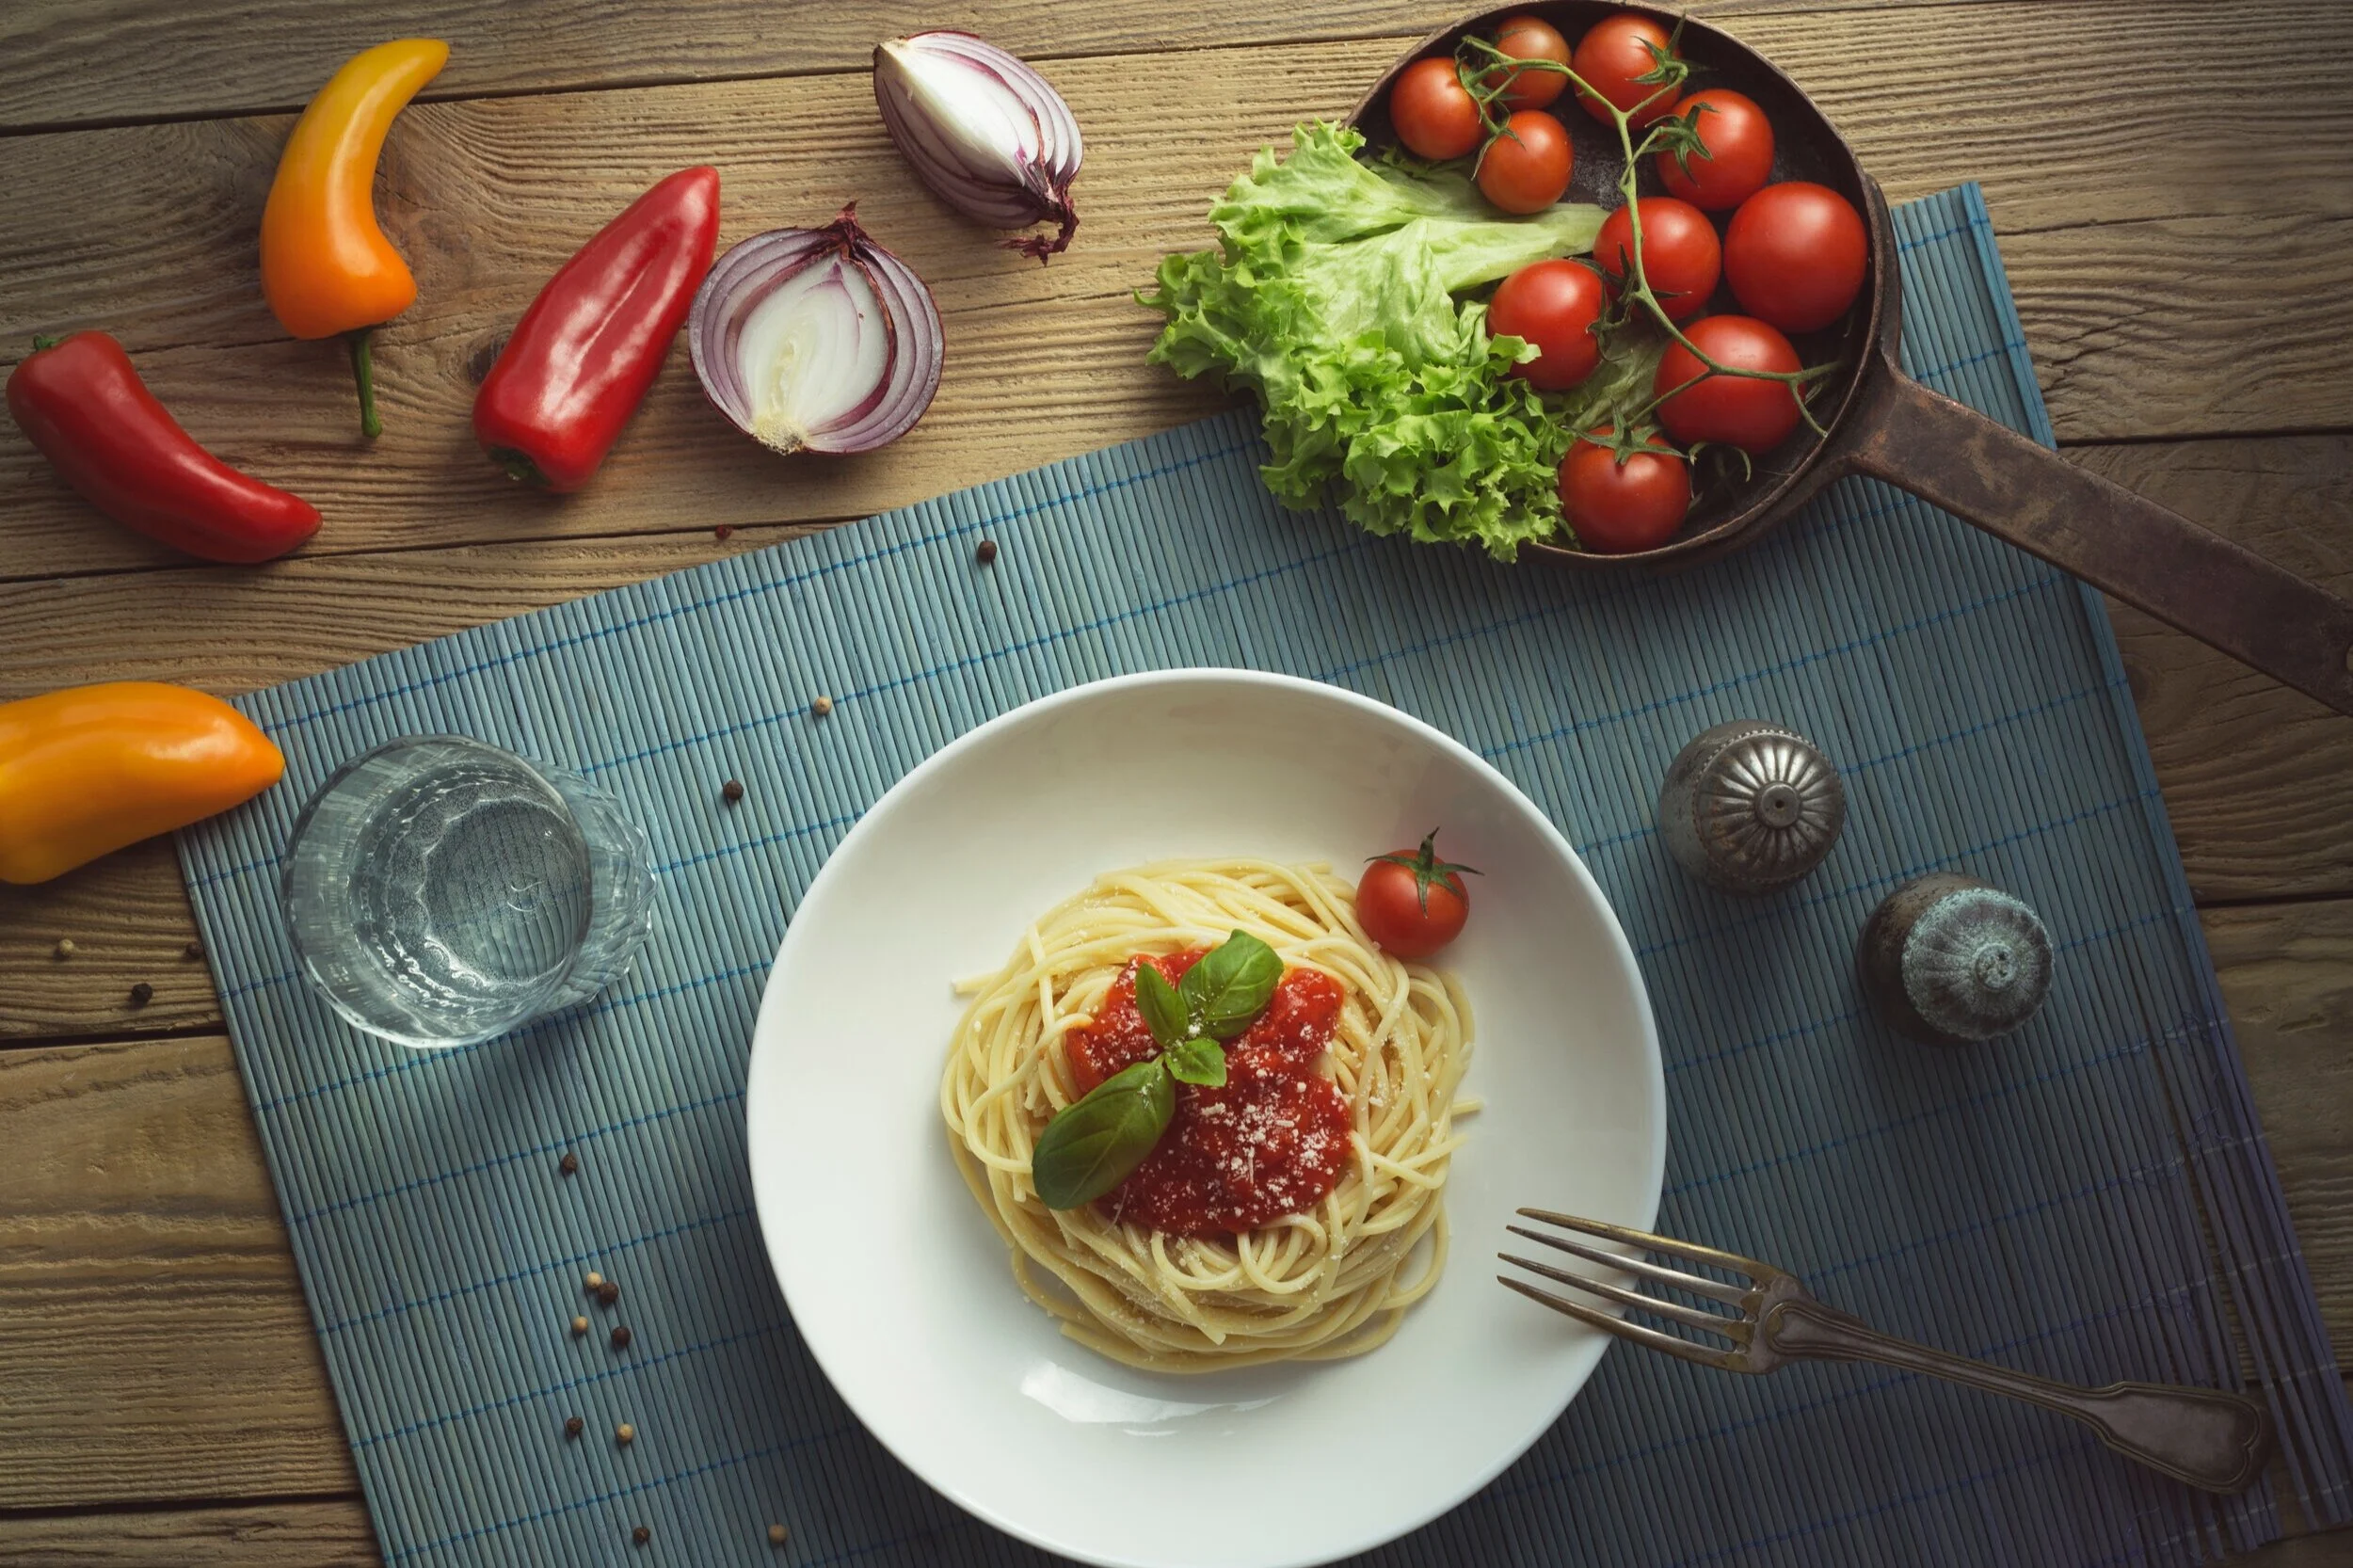
Tomato Sauce
What’s better than a jar of homemade tomato sauce?? Every year a regular client of mine gifts me with a glorious jar of her homemade sauce, so this year I’m determined to return the favour :). This is the recipe I’ll be using (well, if I can get my hands on enough tomatoes!)
Important note - it’s particularly important that you follow this recipe exactly, otherwise it might go bad in the can. Only tried and tested recipes can be canned.
Recipe from Taste of Home
ingredients
25 pounds tomatoes (about 80 medium)
4 large green peppers, seeded
4 large onions, cut into wedges
2 cans (12 ounces each) tomato paste
1/4 cup canola oil
2/3 cup sugar
1/4 cup salt
8 garlic cloves, minced
4 teaspoons dried oregano
2 teaspoons dried parsley flakes2 teaspoons dried basil
2 teaspoons crushed red pepper flakes
2 teaspoons Worcestershire sauce
2 bay leaves
1 cup plus 2 tablespoons bottled lemon juice
Directions
Bring 2 quarts/litres of water to a boil. Using a slotted spoon, place tomatoes, one at a time, in boiling water for 30-60 seconds. Remove each tomato and immediately plunge into ice water. Peel and quarter tomatoes; place in a stockpot.
Pulse green peppers and onions in batches in a food processor until finely chopped; transfer to stockpot. Stir in next 11 ingredients. Add water to cover; bring to a boil. Reduce heat; simmer, uncovered, 4-5 hours, stirring occasionally.
Sterilize your jars and lids.
Discard bay leaves. Add 2 tablespoons lemon juice to each of 9 hot 1-qt. jars. Ladle hot mixture into jars, leaving 1/2-in. headspace. Remove air bubbles and adjust headspace, if necessary, by adding hot mixture. Wipe rims. Center lids on jars; screw on bands until fingertip tight.
Place jars into canner with simmering water, ensuring that they are completely covered with water. Bring to a boil; process for 40 minutes. Remove jars and cool.
Note for elevation: The processing time listed is for altitudes of 1,000 feet or less. For altitudes up to 3,000 feet, add 5 minutes; 6,000 feet, add 10 minutes; 8,000 feet, add 15 minutes; 10,000 feet, add 20 minutes.
Stay tuned for tomato season when I add my play-by-play!
Are there some veggies you’d like to can and would like a recipe? If so, let me know :)
If you have any questions, jump to our private Facebook Group or the Ask Lisa page :)