
Preserving - Part 2
Freezing
Freezing
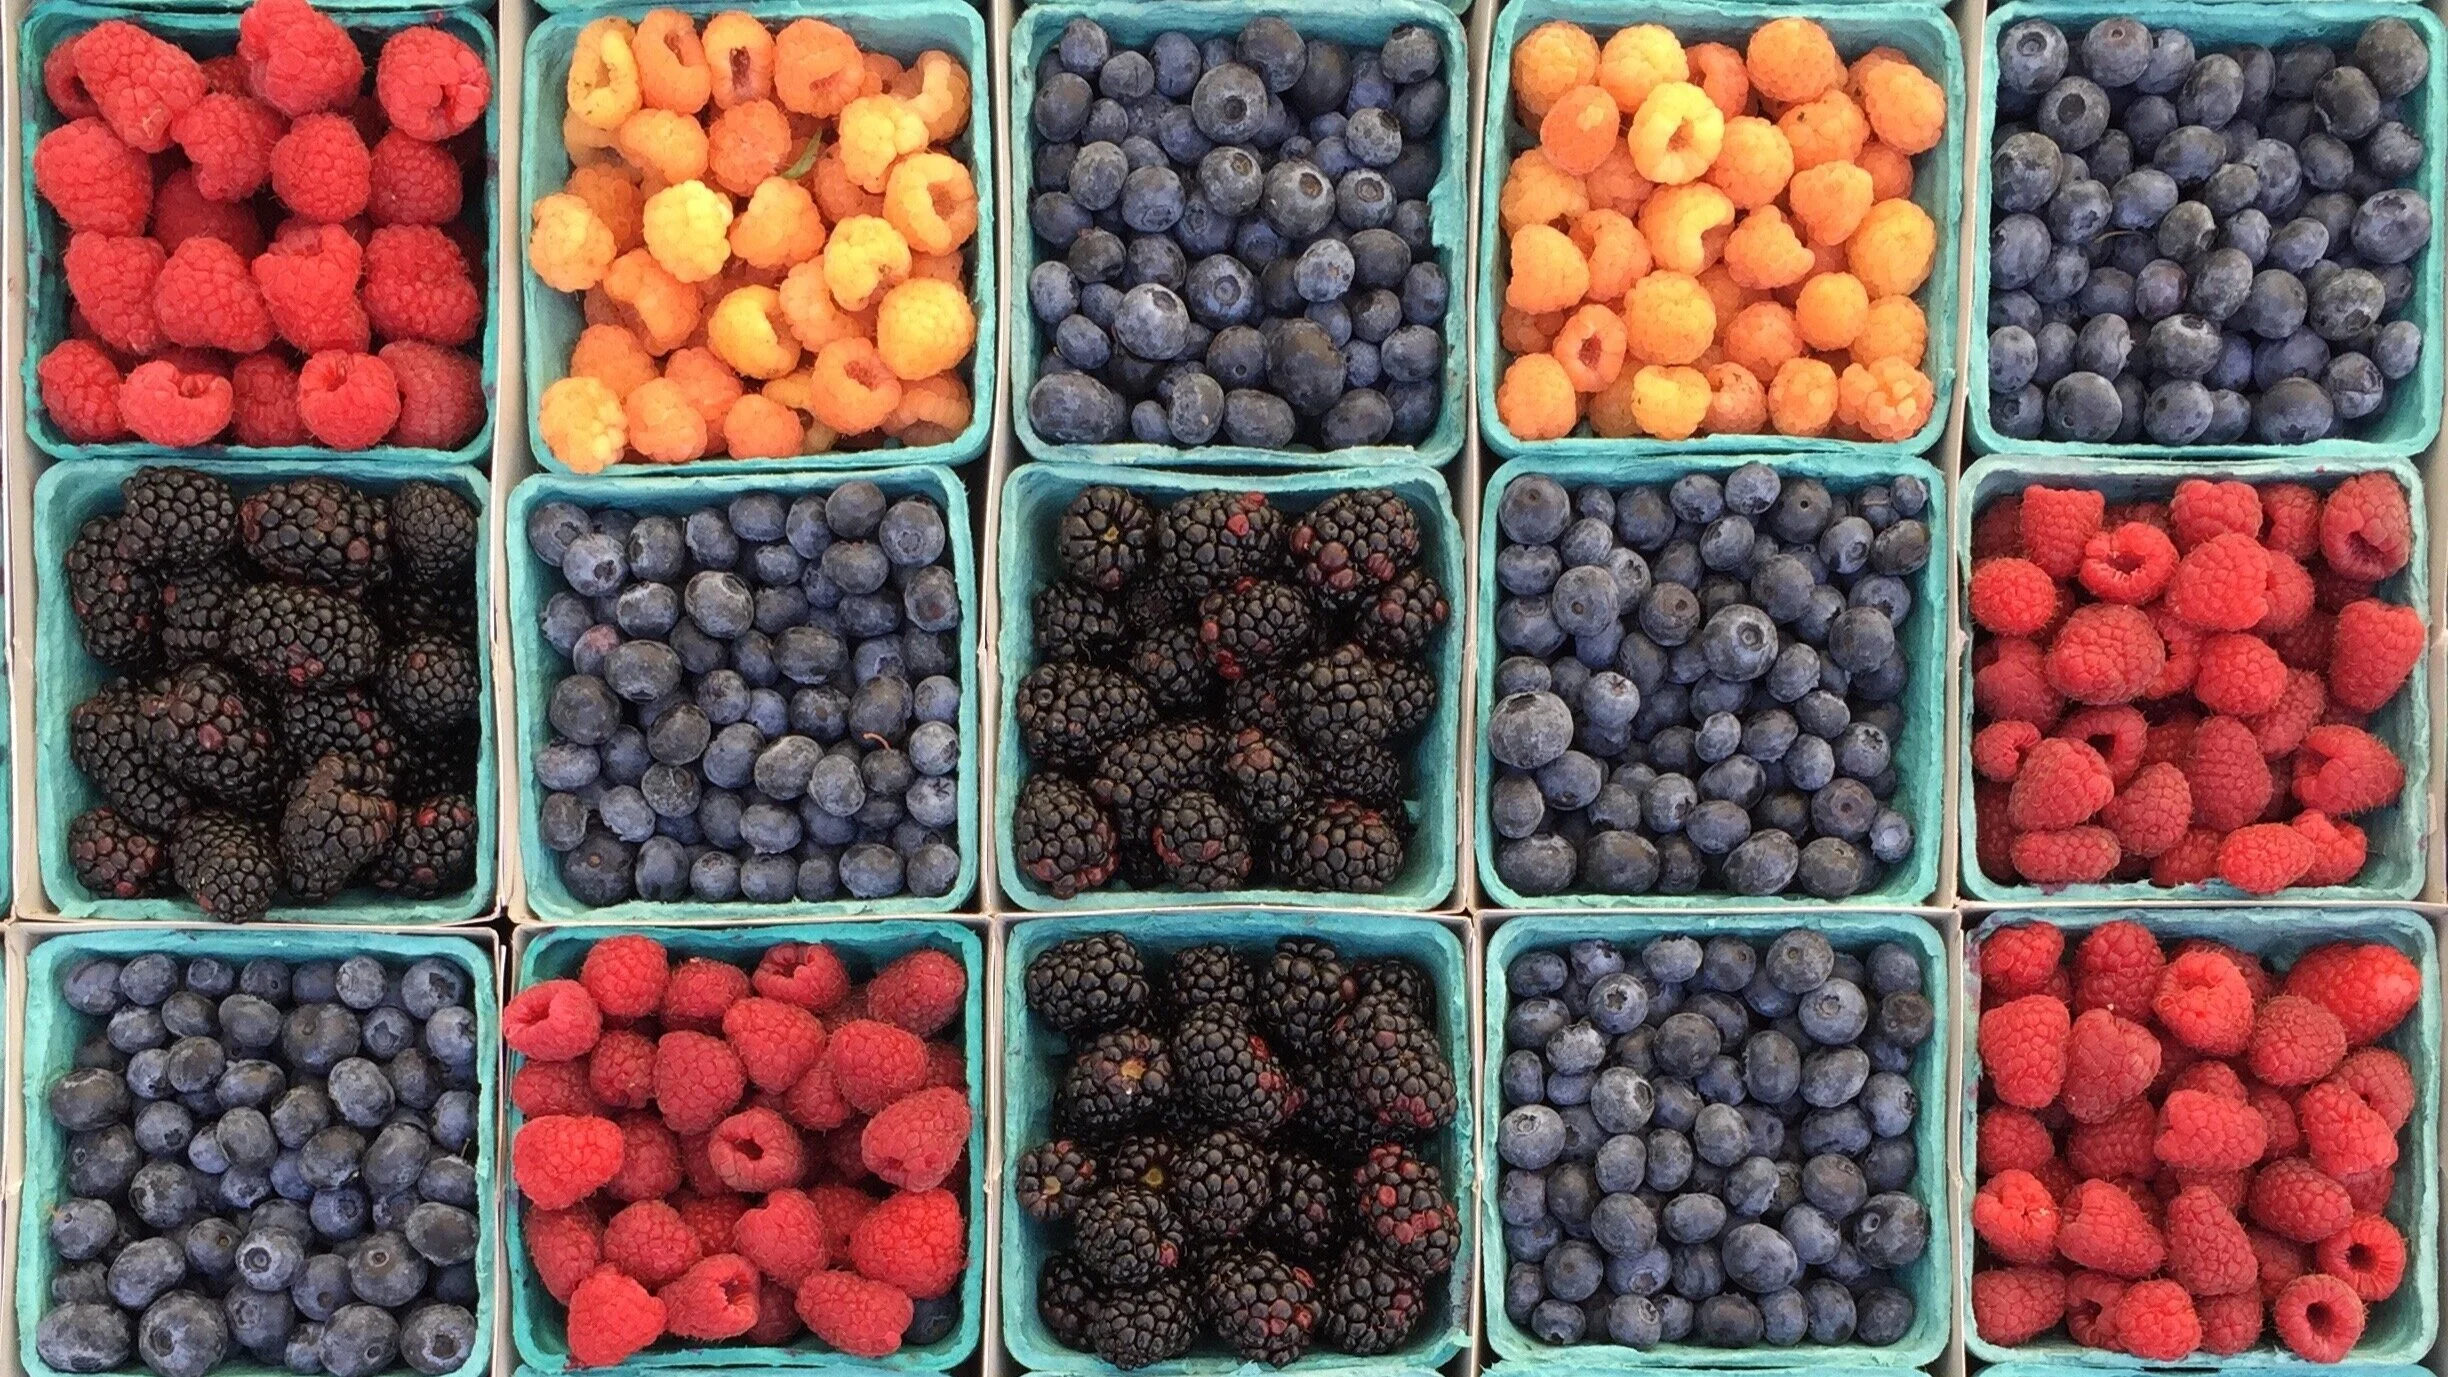
Freezing is the main way I preserve berries and I’ll freeze tomatoes if my tomato plants produce like crazy and I don’t have time to can.
This is the easiest way to freeze berries, beans, and tomatoes
Well, this is what I think is the easiest way to freeze :).
First, wash the produce well. Then I lay them out on a cookie sheet and plop them in the freezer. This allows them to freeze individually, so you don’t get a giant berry/bean clump. Once they’re frozen, put them in a container or in a freezer bag.
Freezing beans has become a new favourite this spring. I cooked a few big batches of beans, and then froze them on a cookie sheet and it gave me bags of beans I could use as I please. Instead of opening a full can for just a ¼ cup or so (and then forget about the rest in the fridge), I could use what I wanted without any waste.
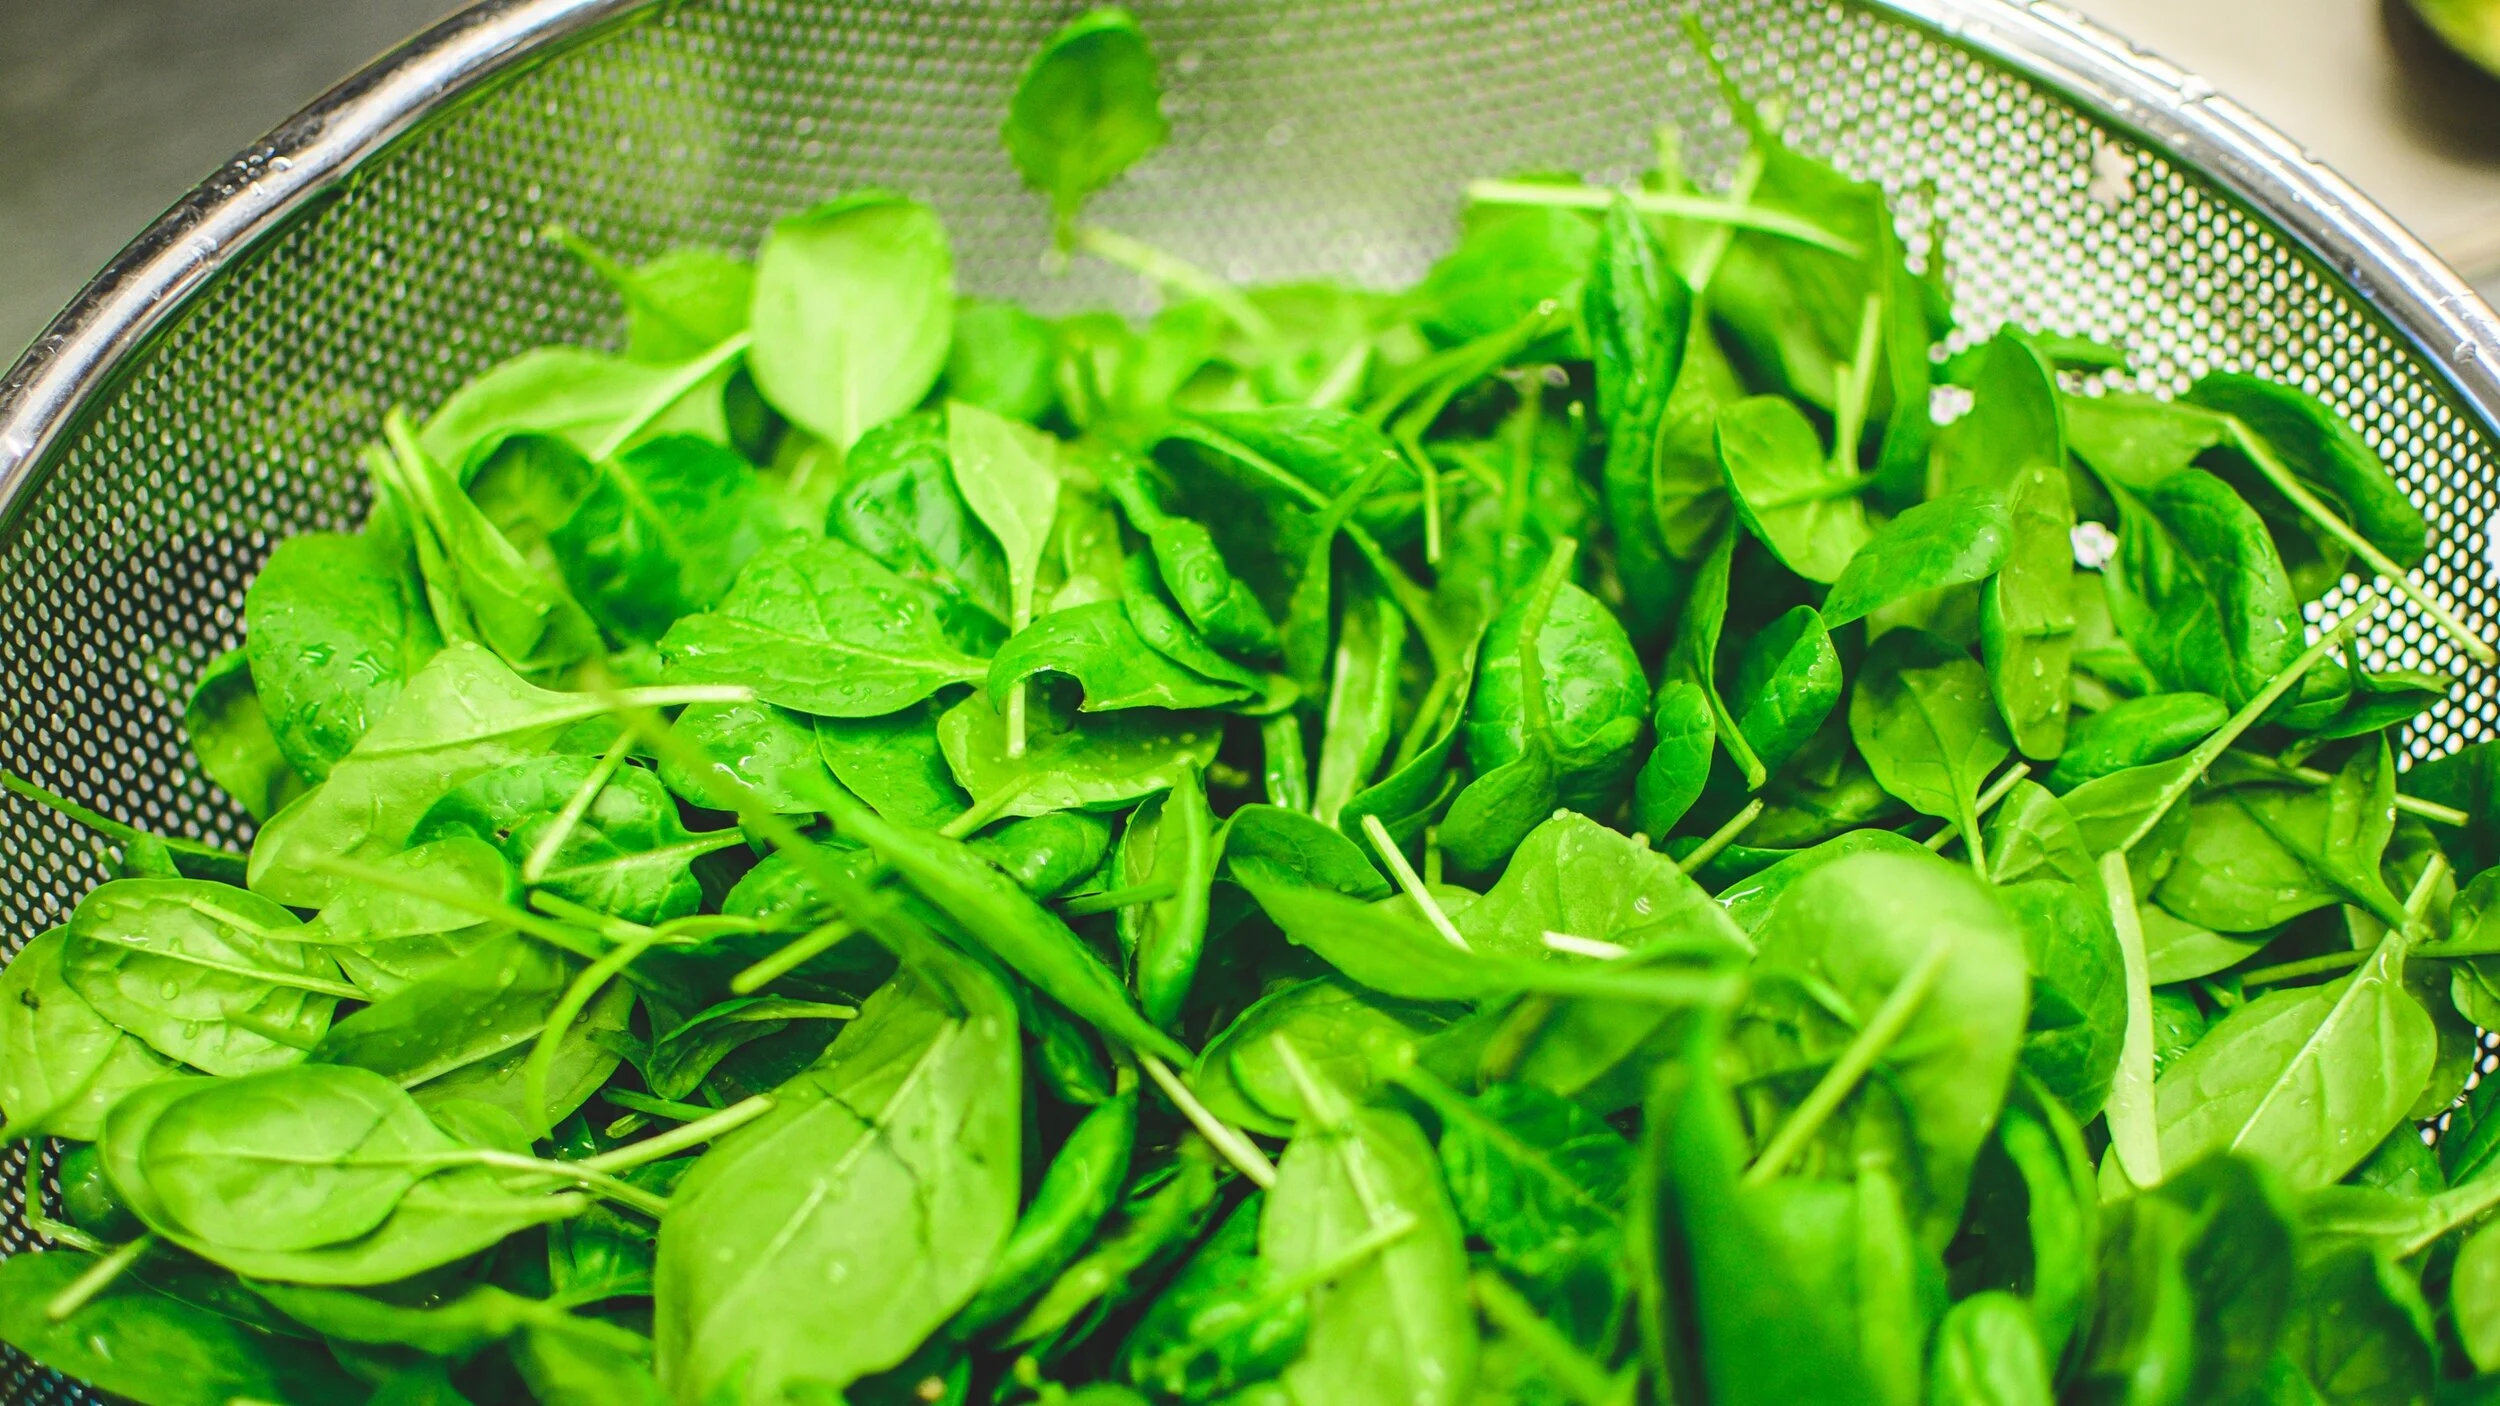
Freezing Greens
Spinach, chard, kale, and other dark leafy greens can be frozen for months. First, blanch them in boiling water, and stop the cooking in an ice water bath. Then freeze on a cookie sheet in smaller clumps (whatever you’d use at once).
Once they’re frozen, store in a container or freezer bag. Add them to smoothies, soups, stews, or just warm up with some olive oil :).
Freezing other types of veggies
Pretty much any veggies you can find in the frozen food section of your grocery store can be frozen at home.
In general, veggies like broccoli, cauliflower, and other non-starchy veggies can be frozen. Like with greens, they freeze best if you blanch them first before freezing (see below for instructions).
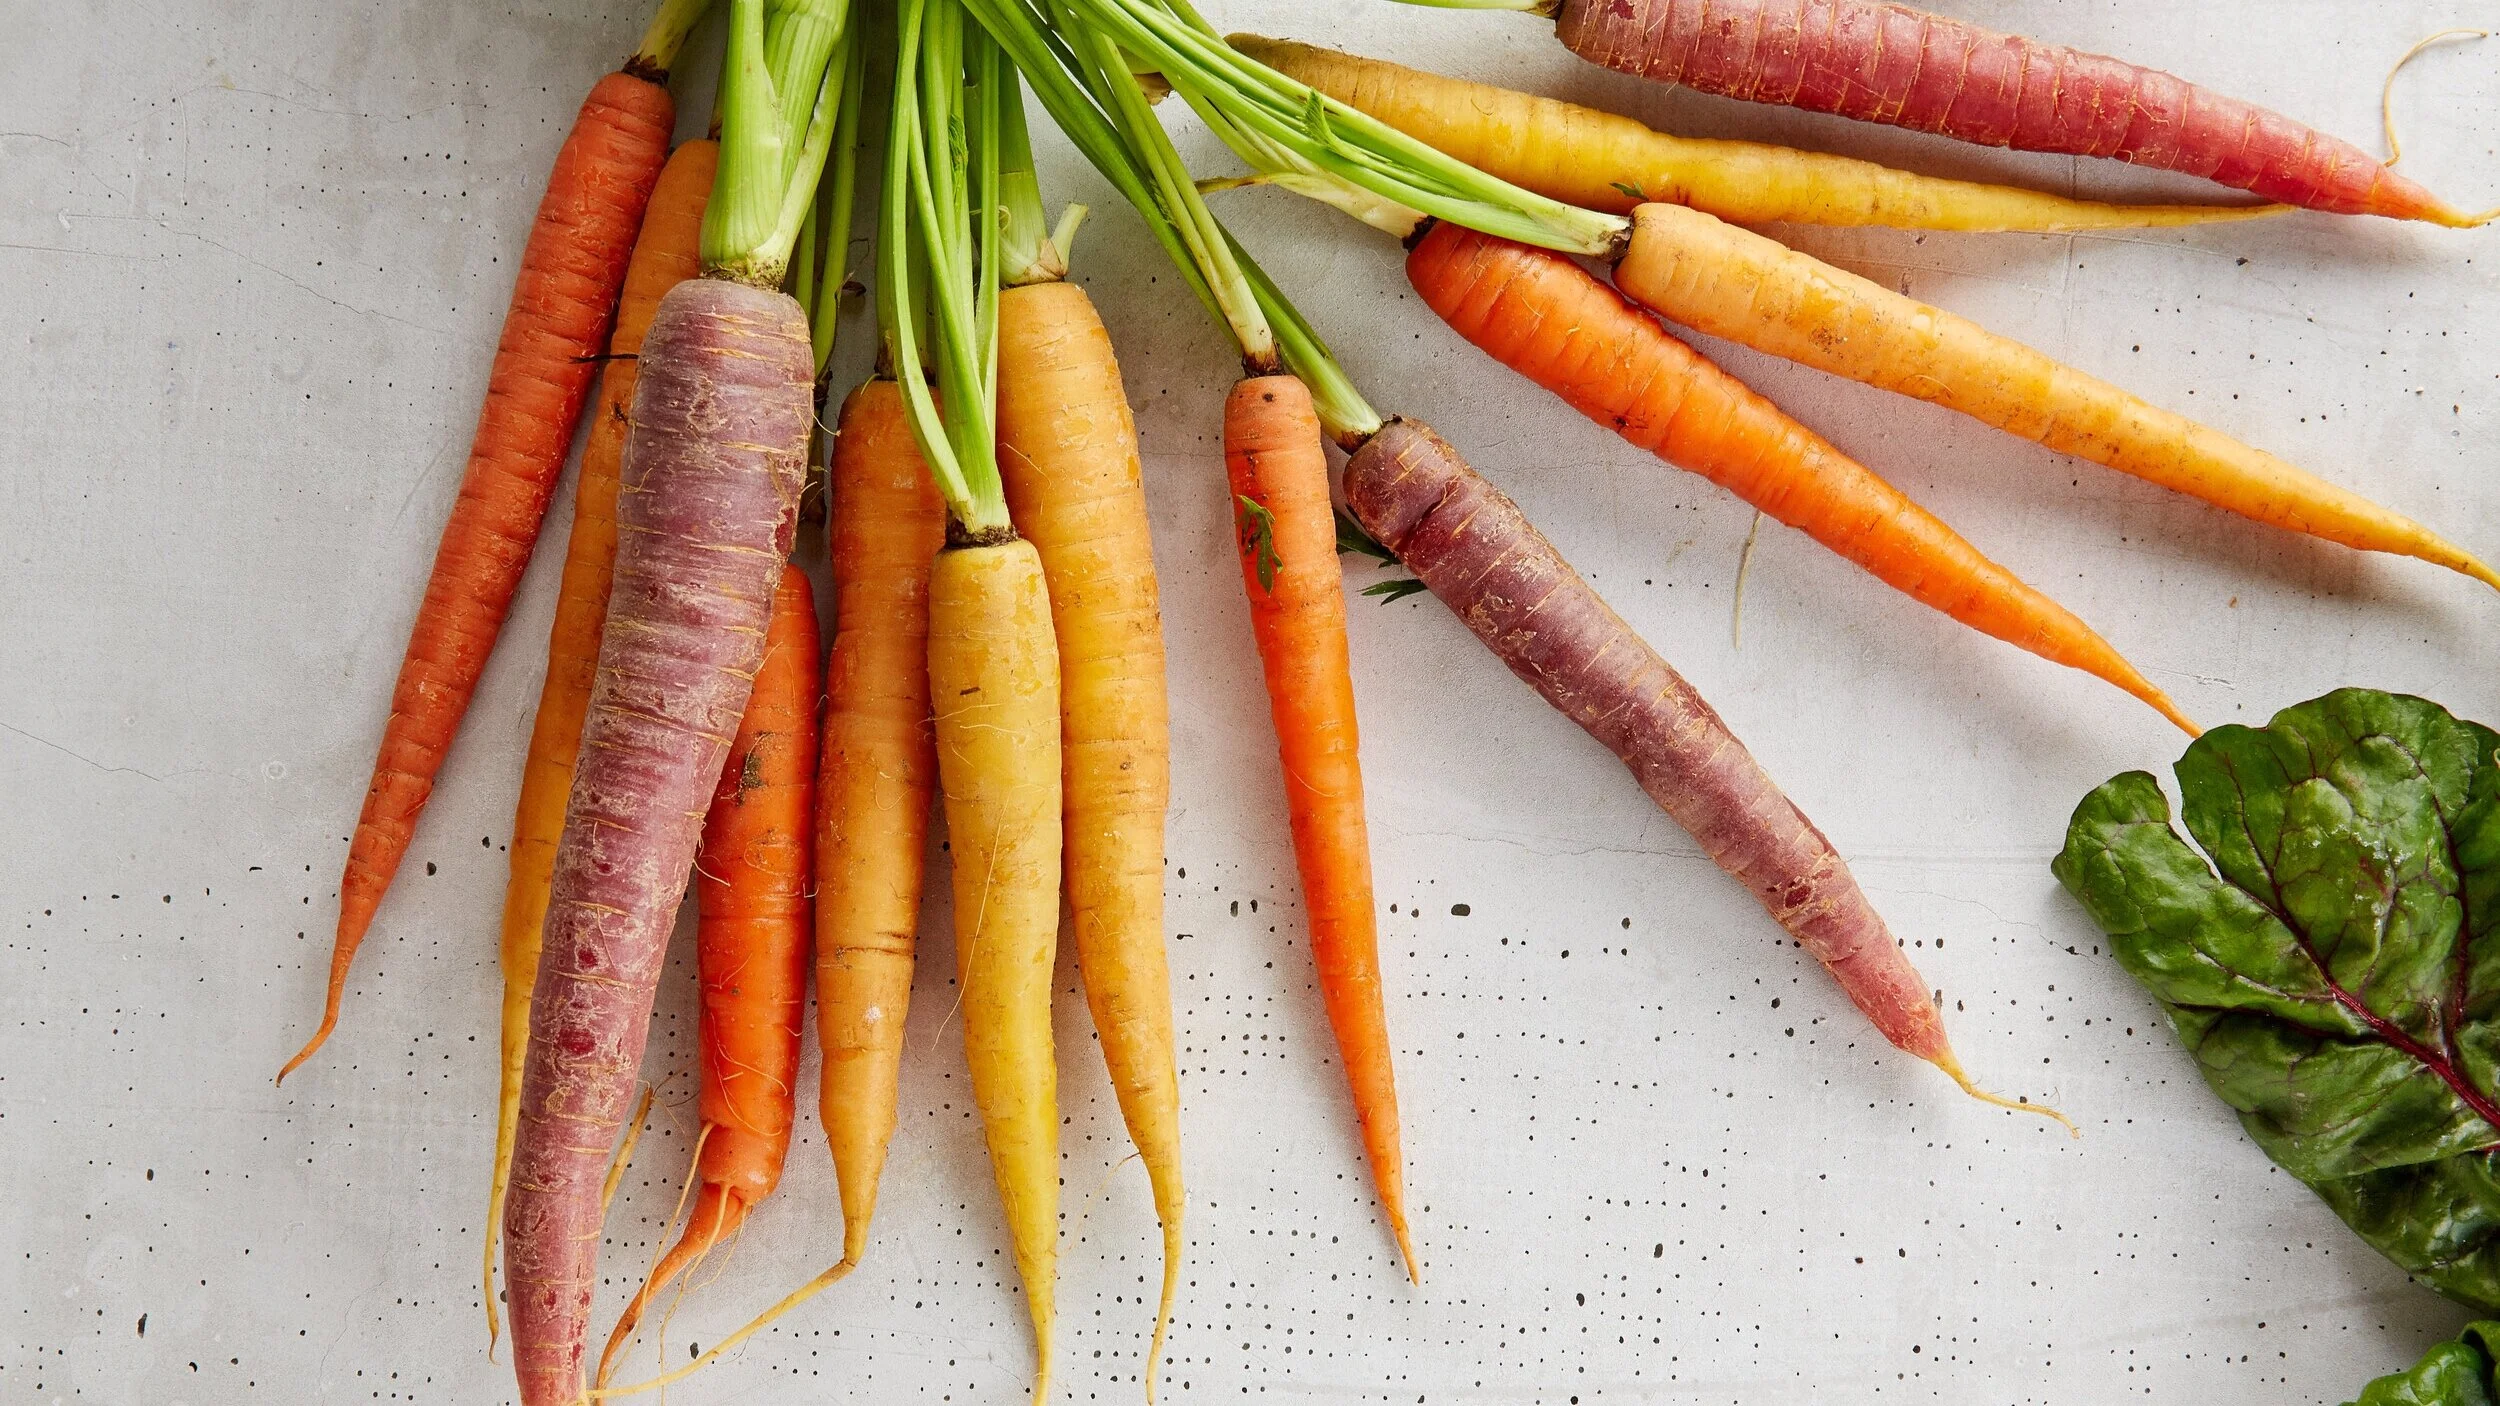
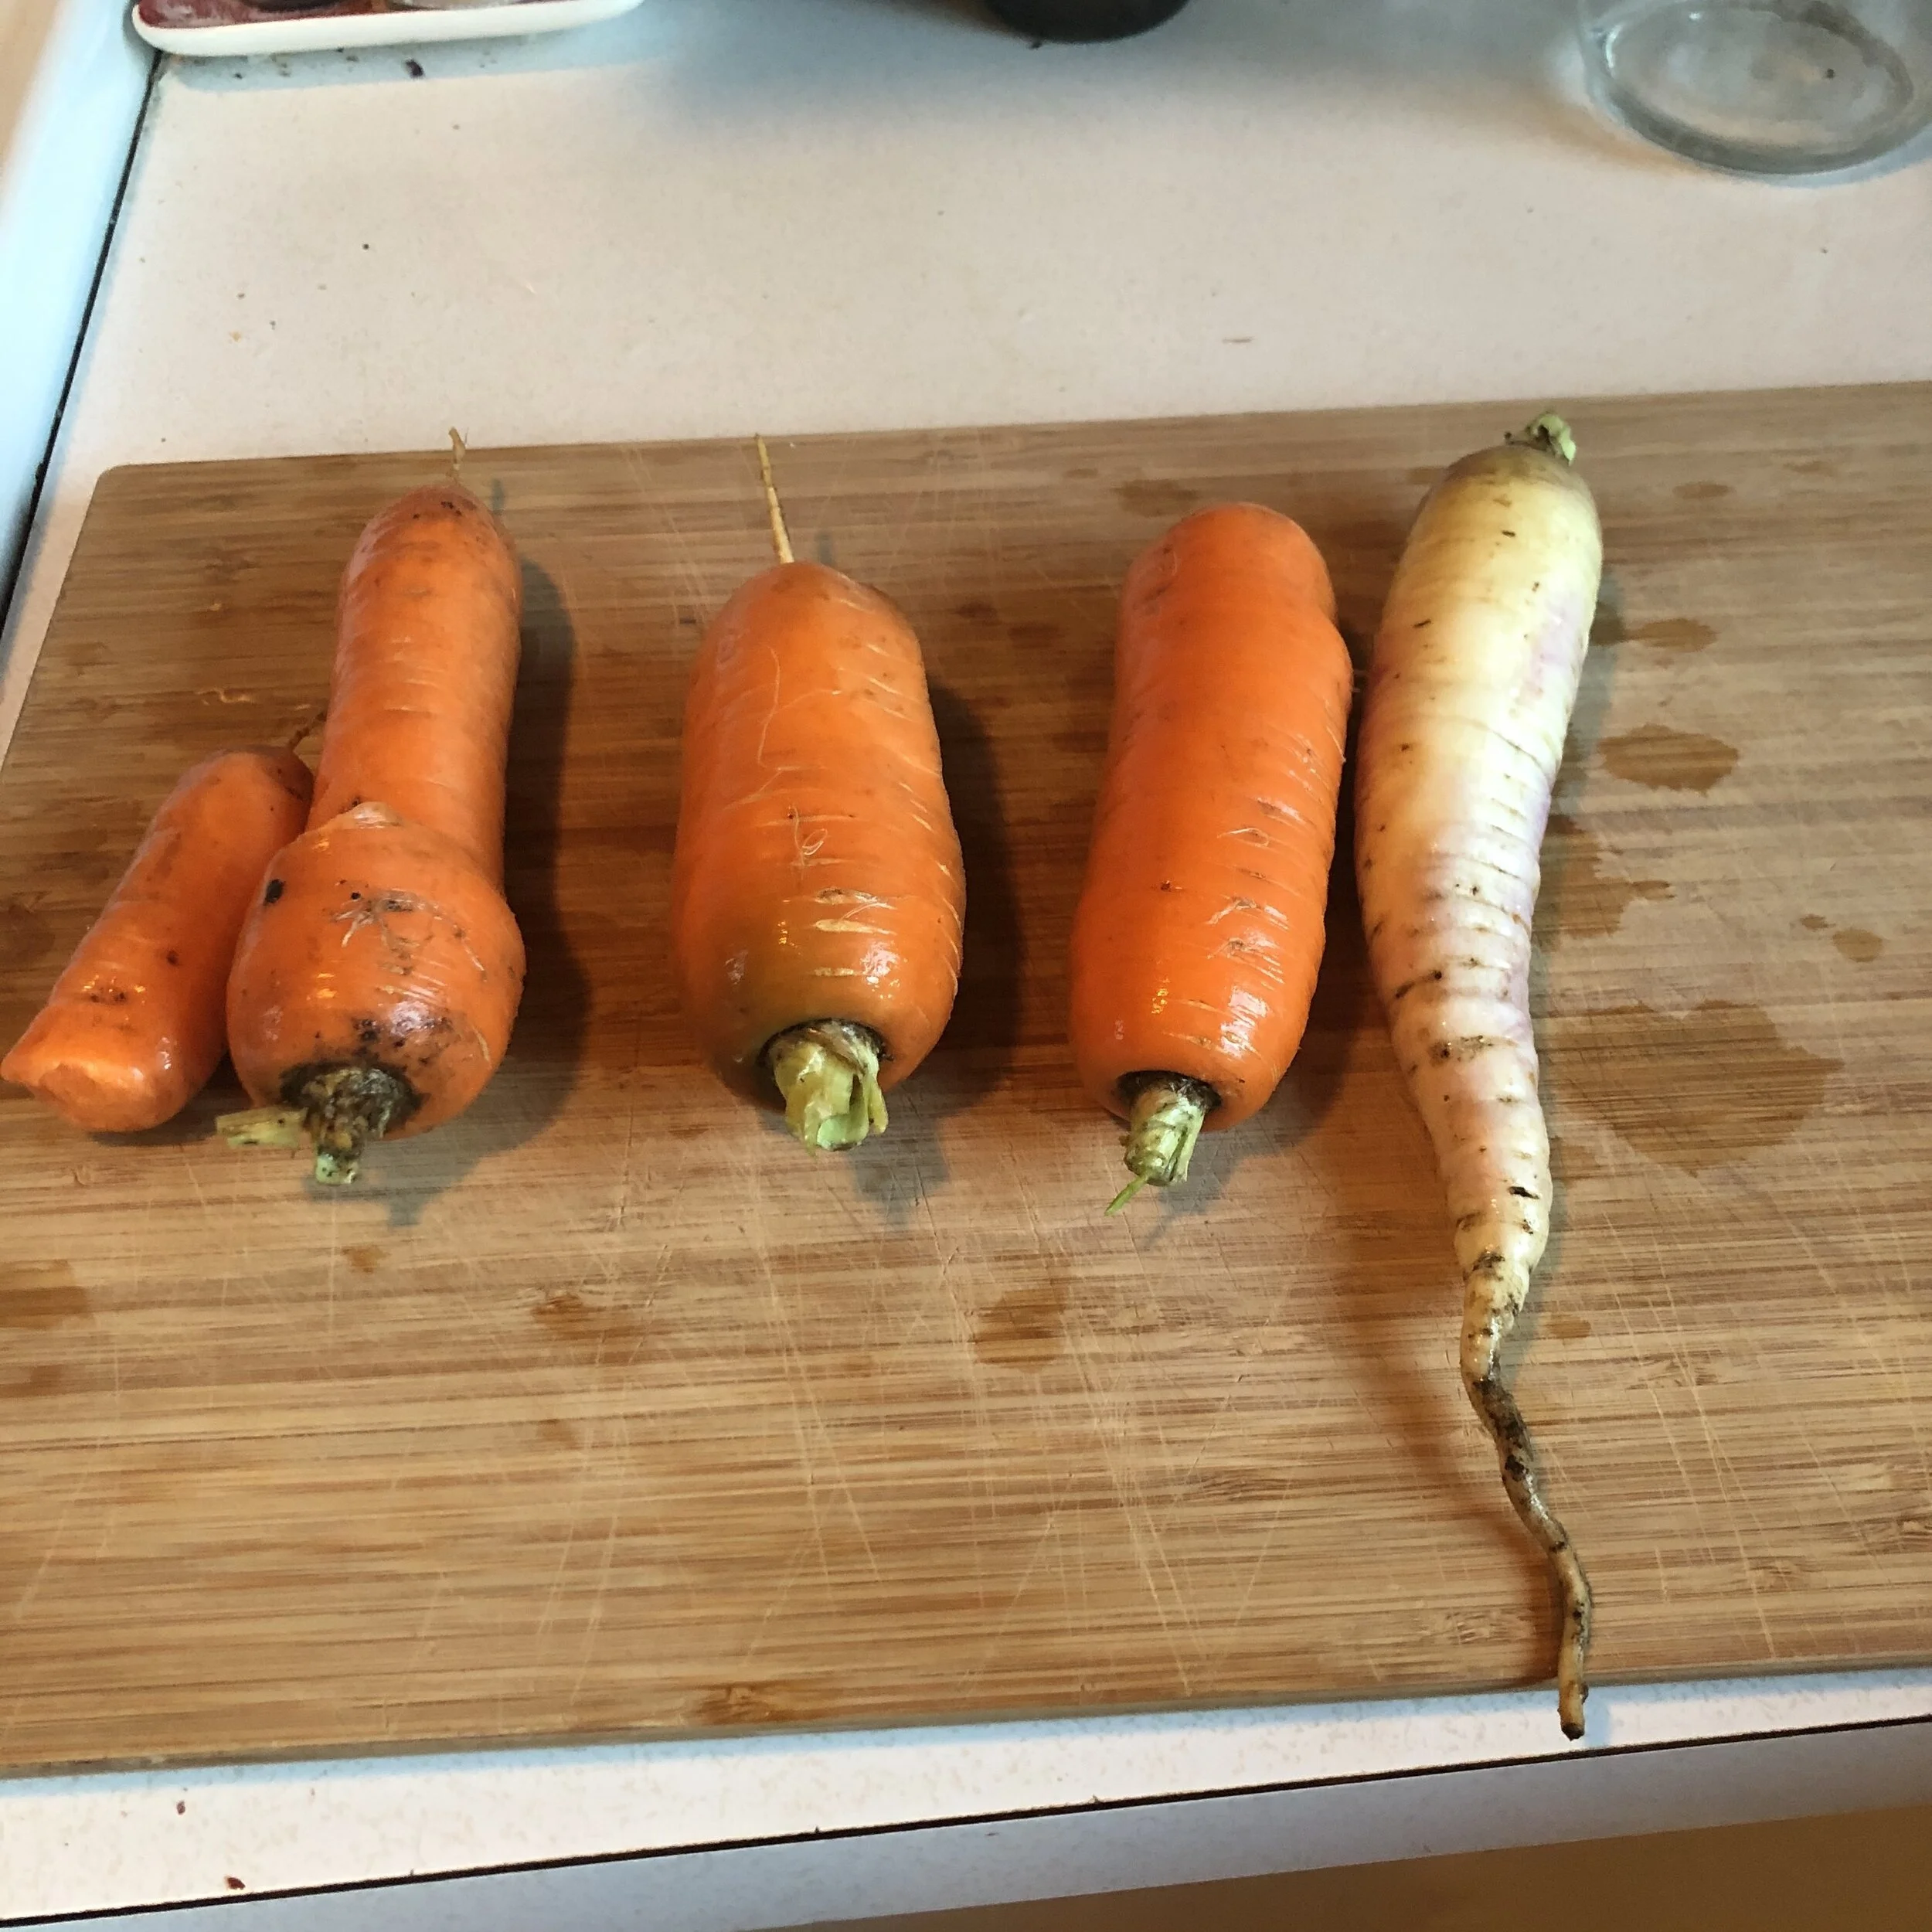
FREEZING CARROTS (OR BEETS)
Carrots are wonderful to grow because they’re tough and can last for weeks in the fridge…but this year I had so many carrots in the fall that my crisper was full and I had barely dented my carrot pile.
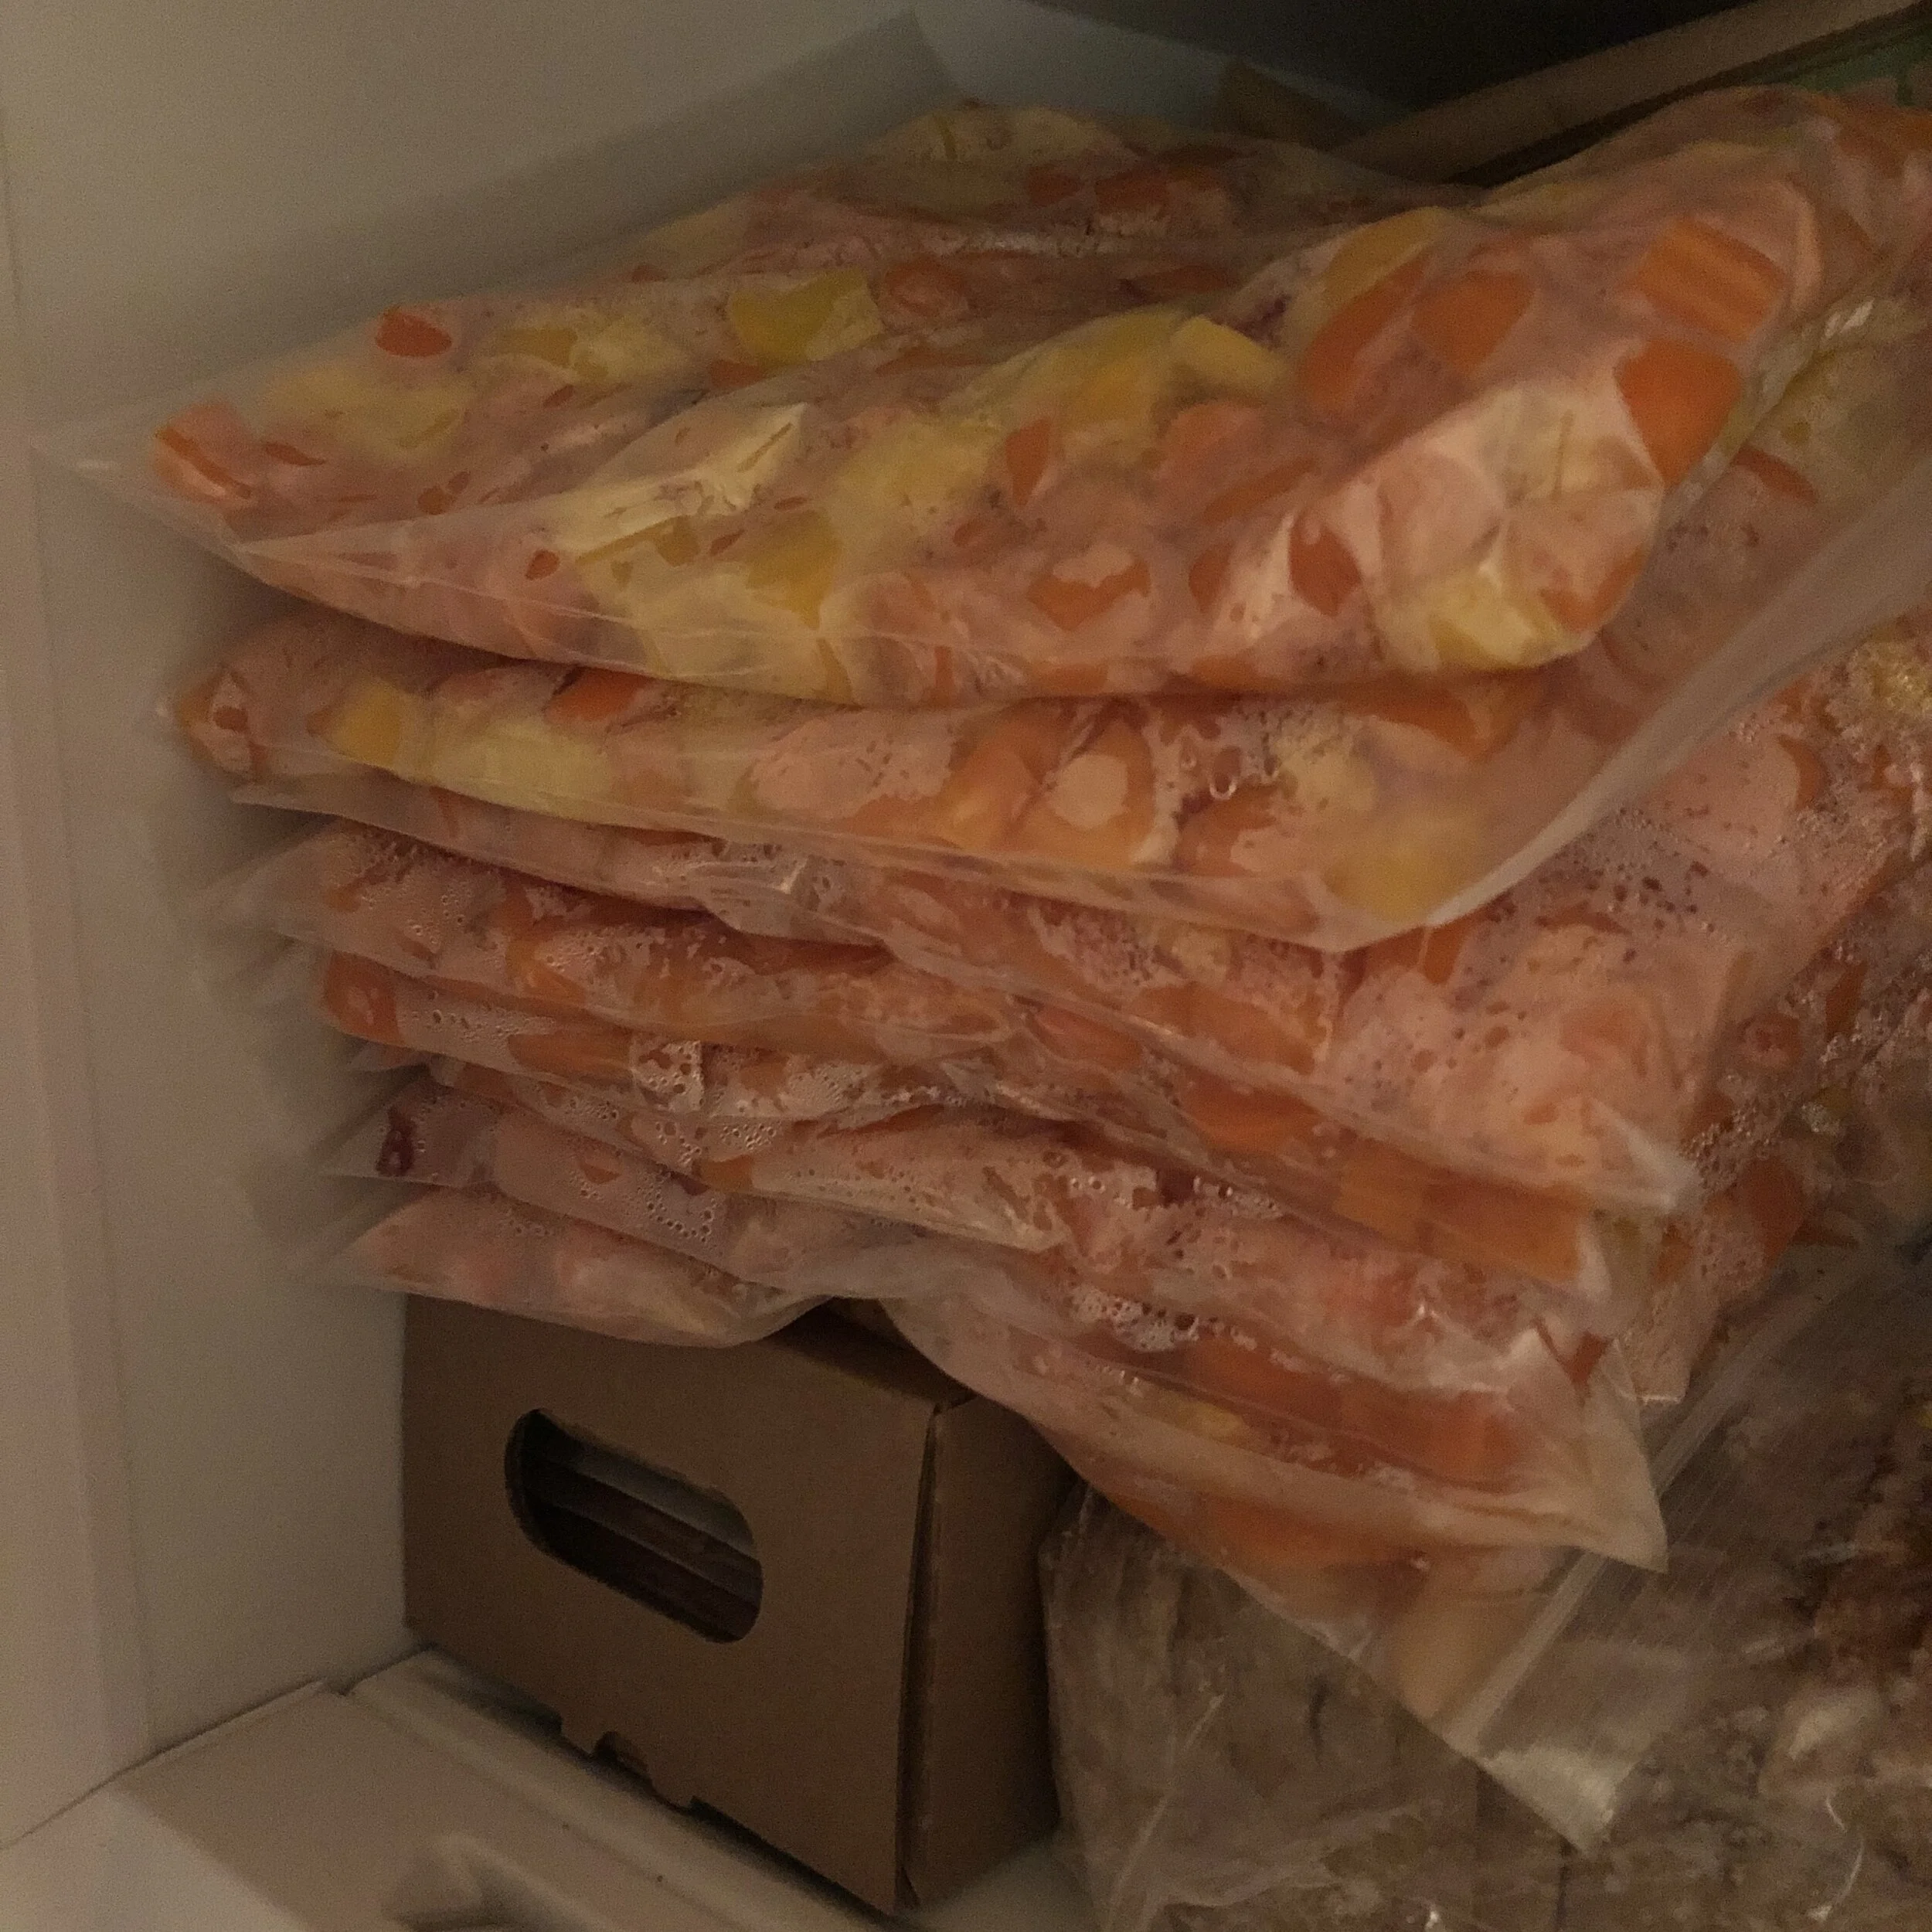
So, this year I also froze a bunch of carrots, and now I have about 40 meals worth of perfectly chopped carrots ready for soups, stews, stir fries, and curries this winter. Yay!
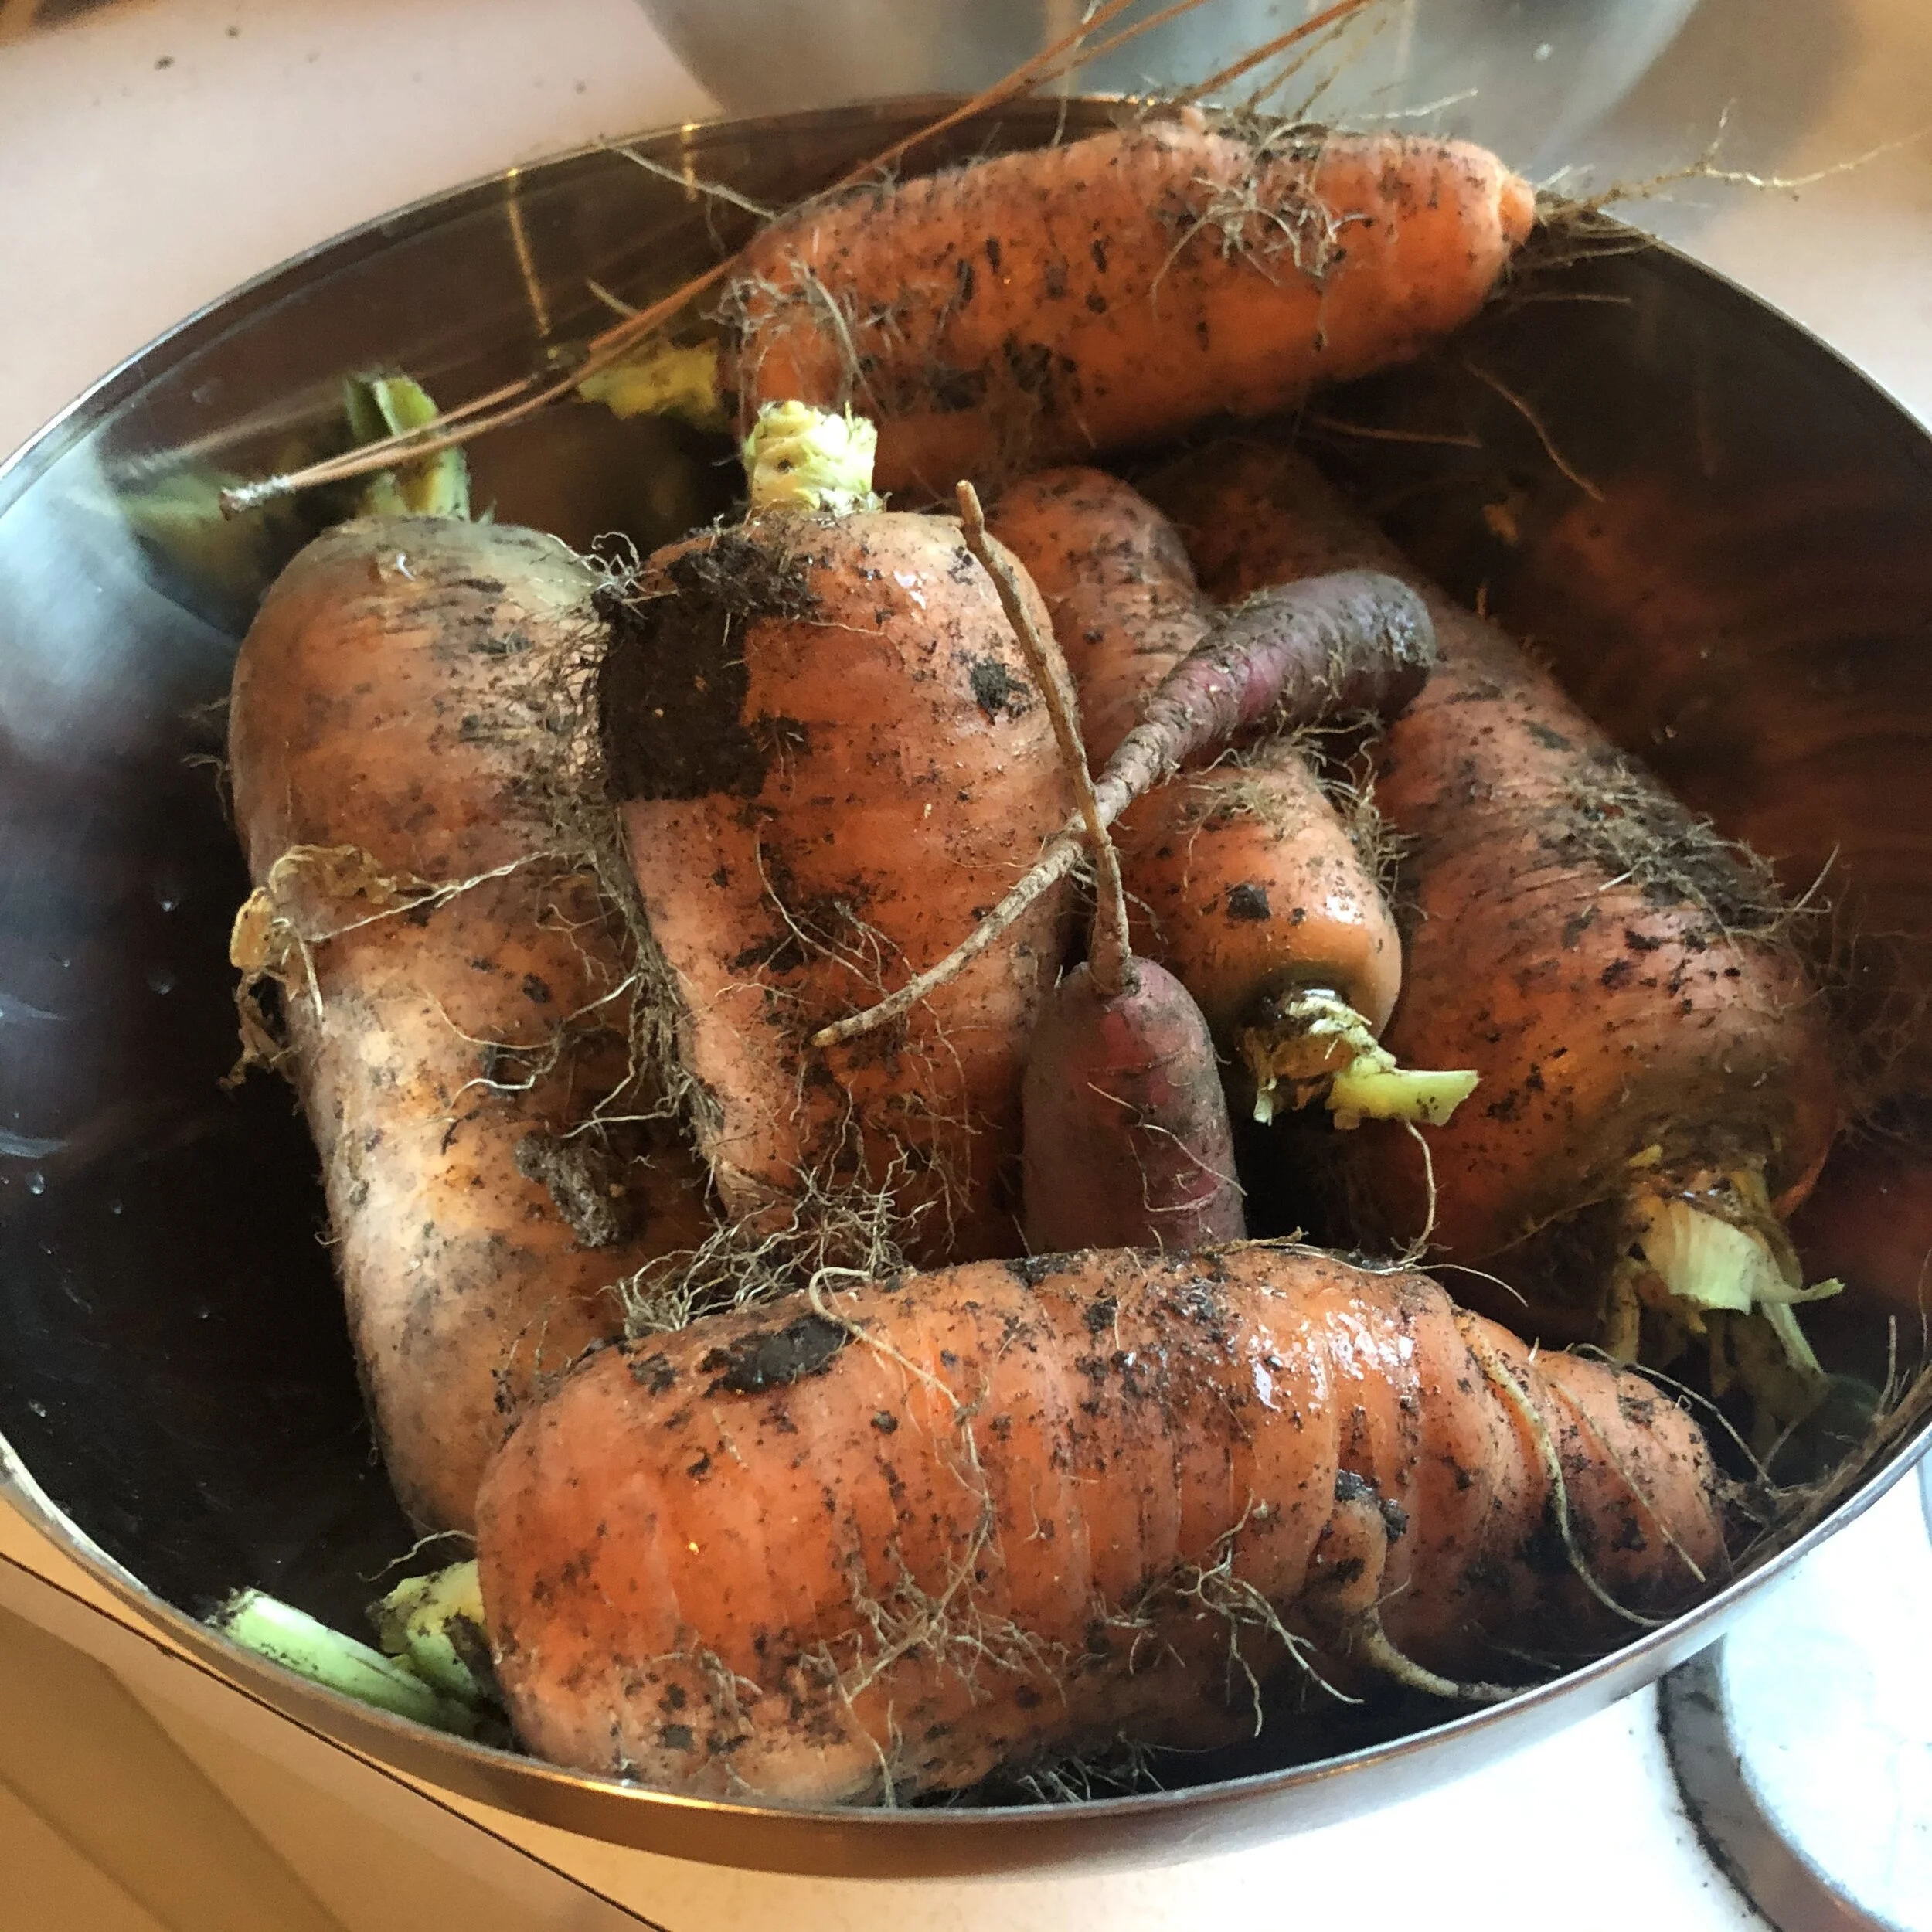
This process was easy and only a bit time consuming. It took me about 2.5 hours to process 10 freezer bags full of chopped carrots.
*Important note - blanching is important!
Don’t skip this step! Blanching deactivates an enzyme that will cause the carrots to rot quickly, even in the freezer. By blanching your carrots will be a-okay in the freezer for up to a year!
HOW TO:
Wash your carrots well, don’t leave any bits of grit that may ruin a future dinner. A veggie brush is helpful :)
Chop your carrots into the shapes that you prefer. A mandolin or food processor can speed up this process (I chopped everything by hand)
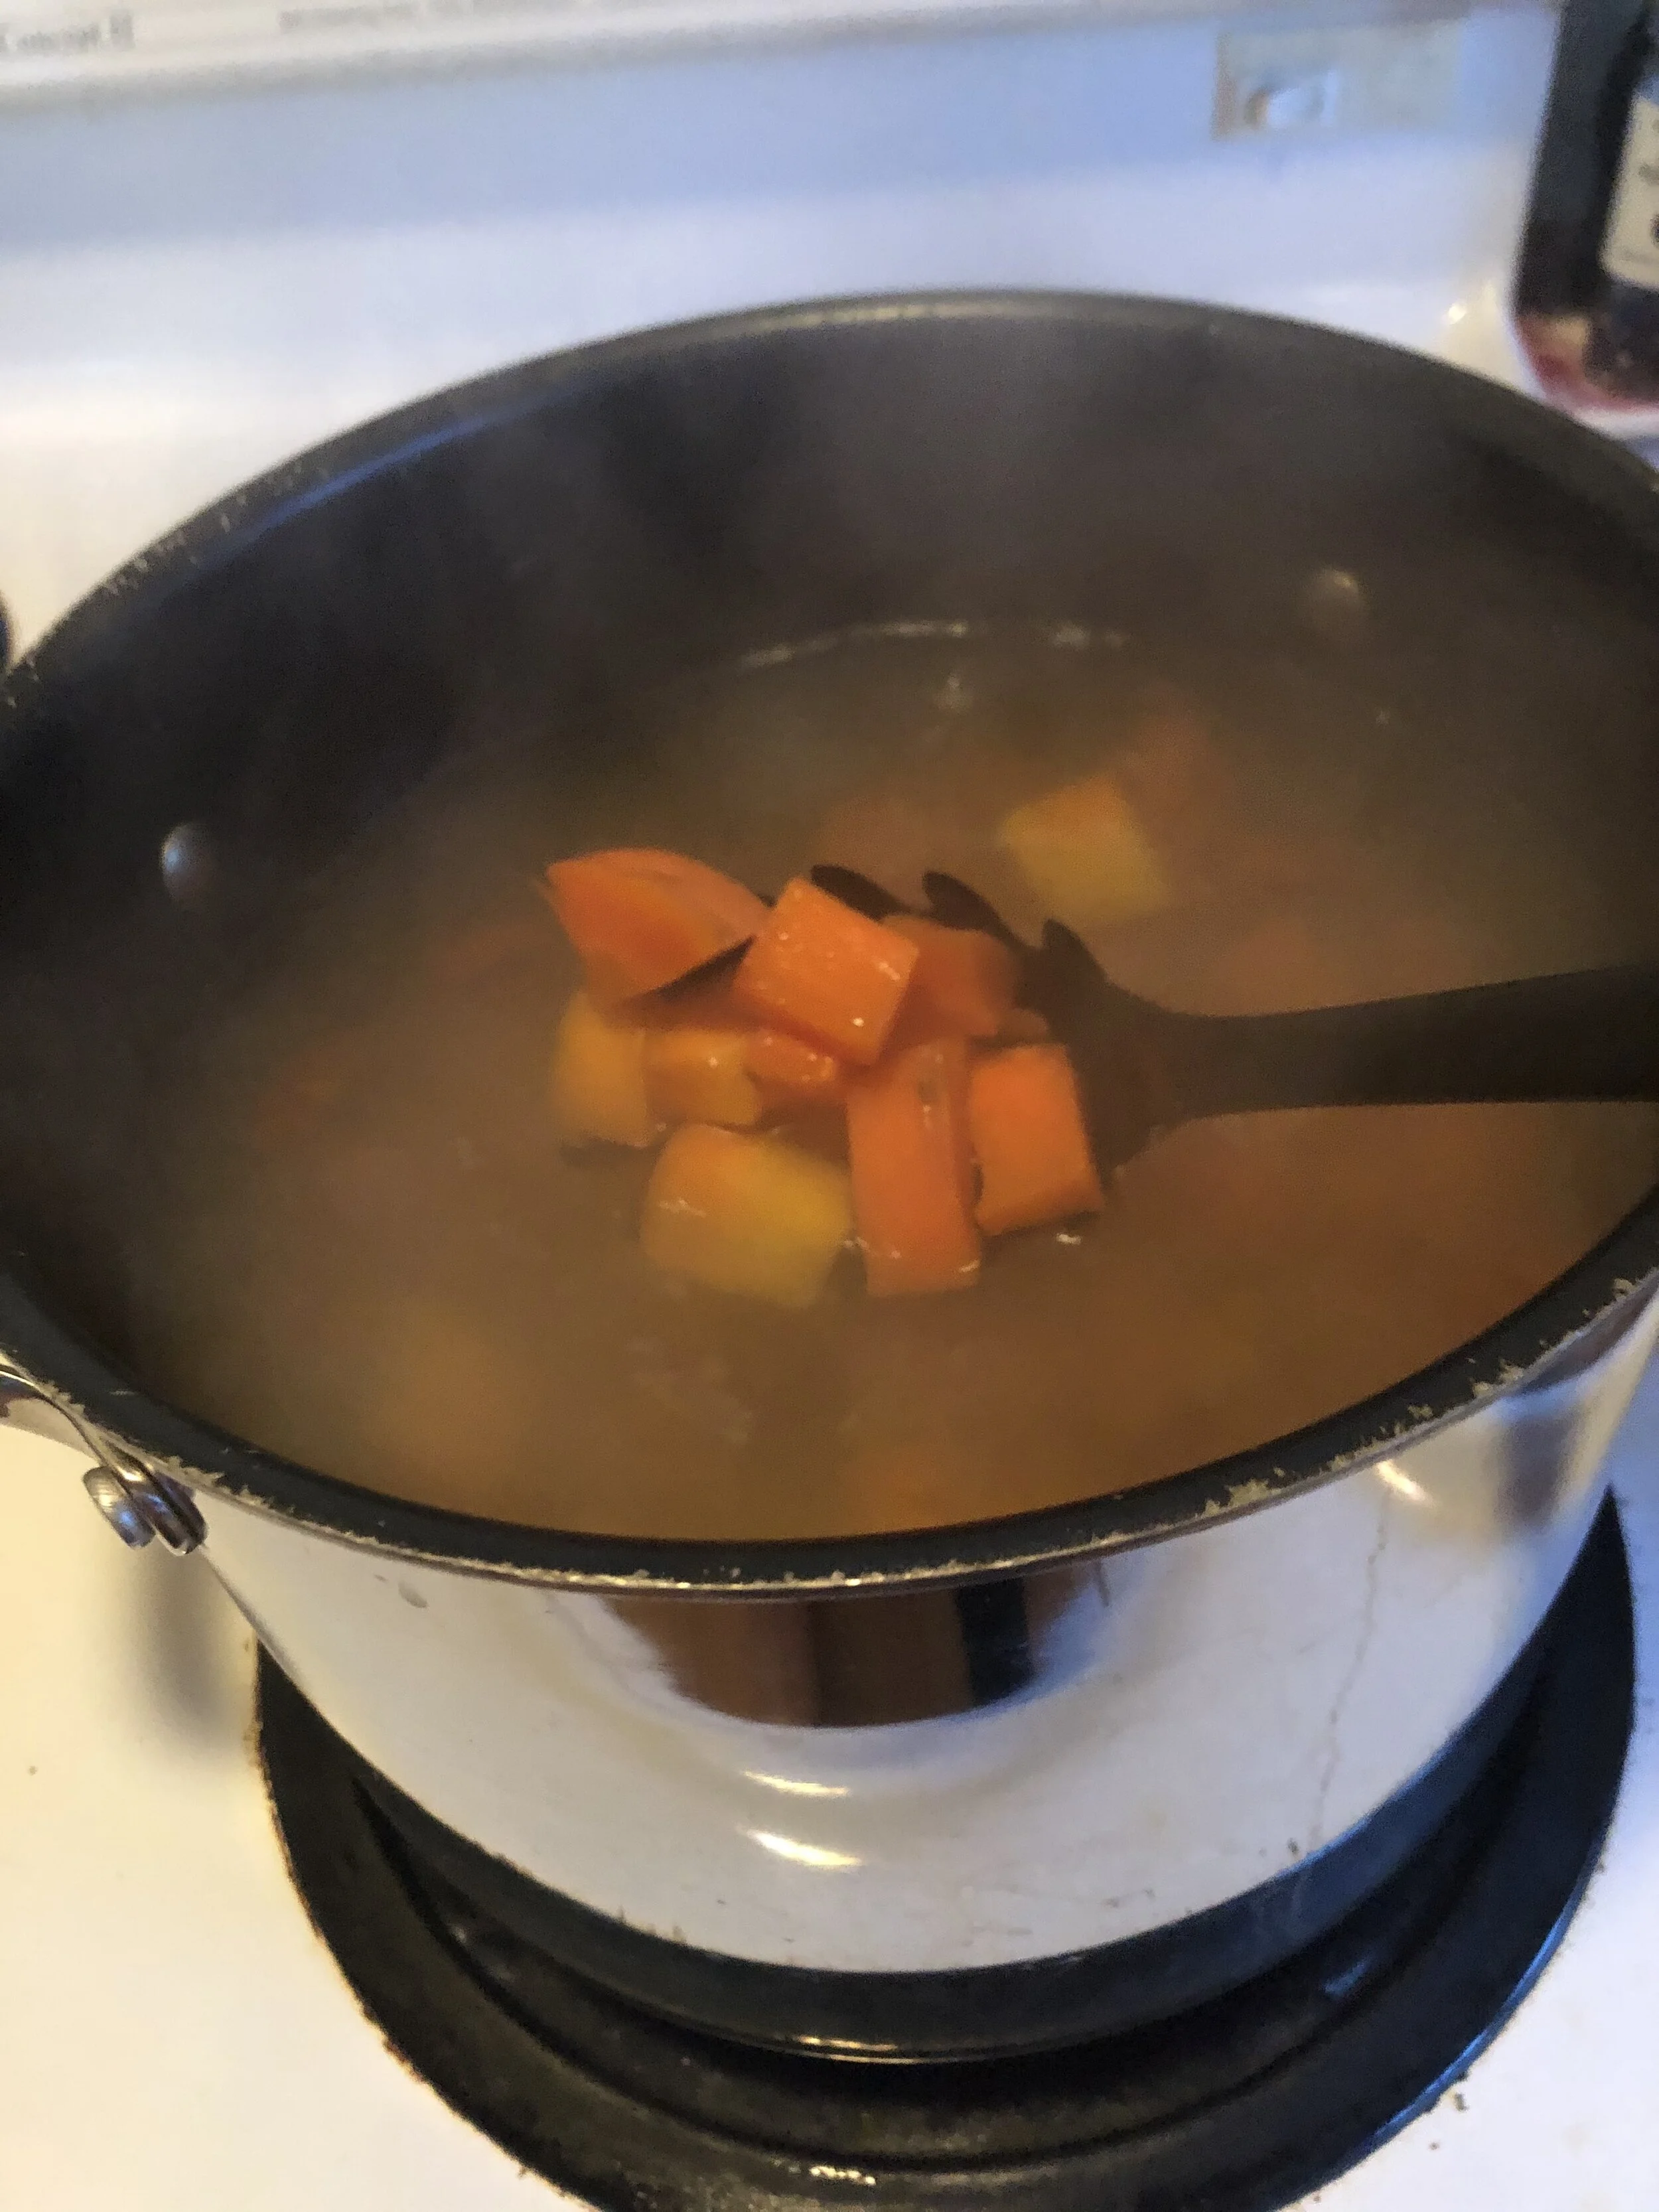
Grab a large stock pot and fill it 2/3 with water. Bring to a boil (don’t salt this water)
Once it’s at rolling boil, let your chopped carrots swim for 3 - 5 mins (3 mins for small pieces, 5 mins for baby carrot sized pieces)
Remove from the boiling water with a slotted spoon (keep the water for your next batch) and cool them off quickly with ice water to stop the cooking process.
I didn’t have enough ice, so I first bathed them in cold tap water, and then rinsed them in a colander until they were cool enough to handle.
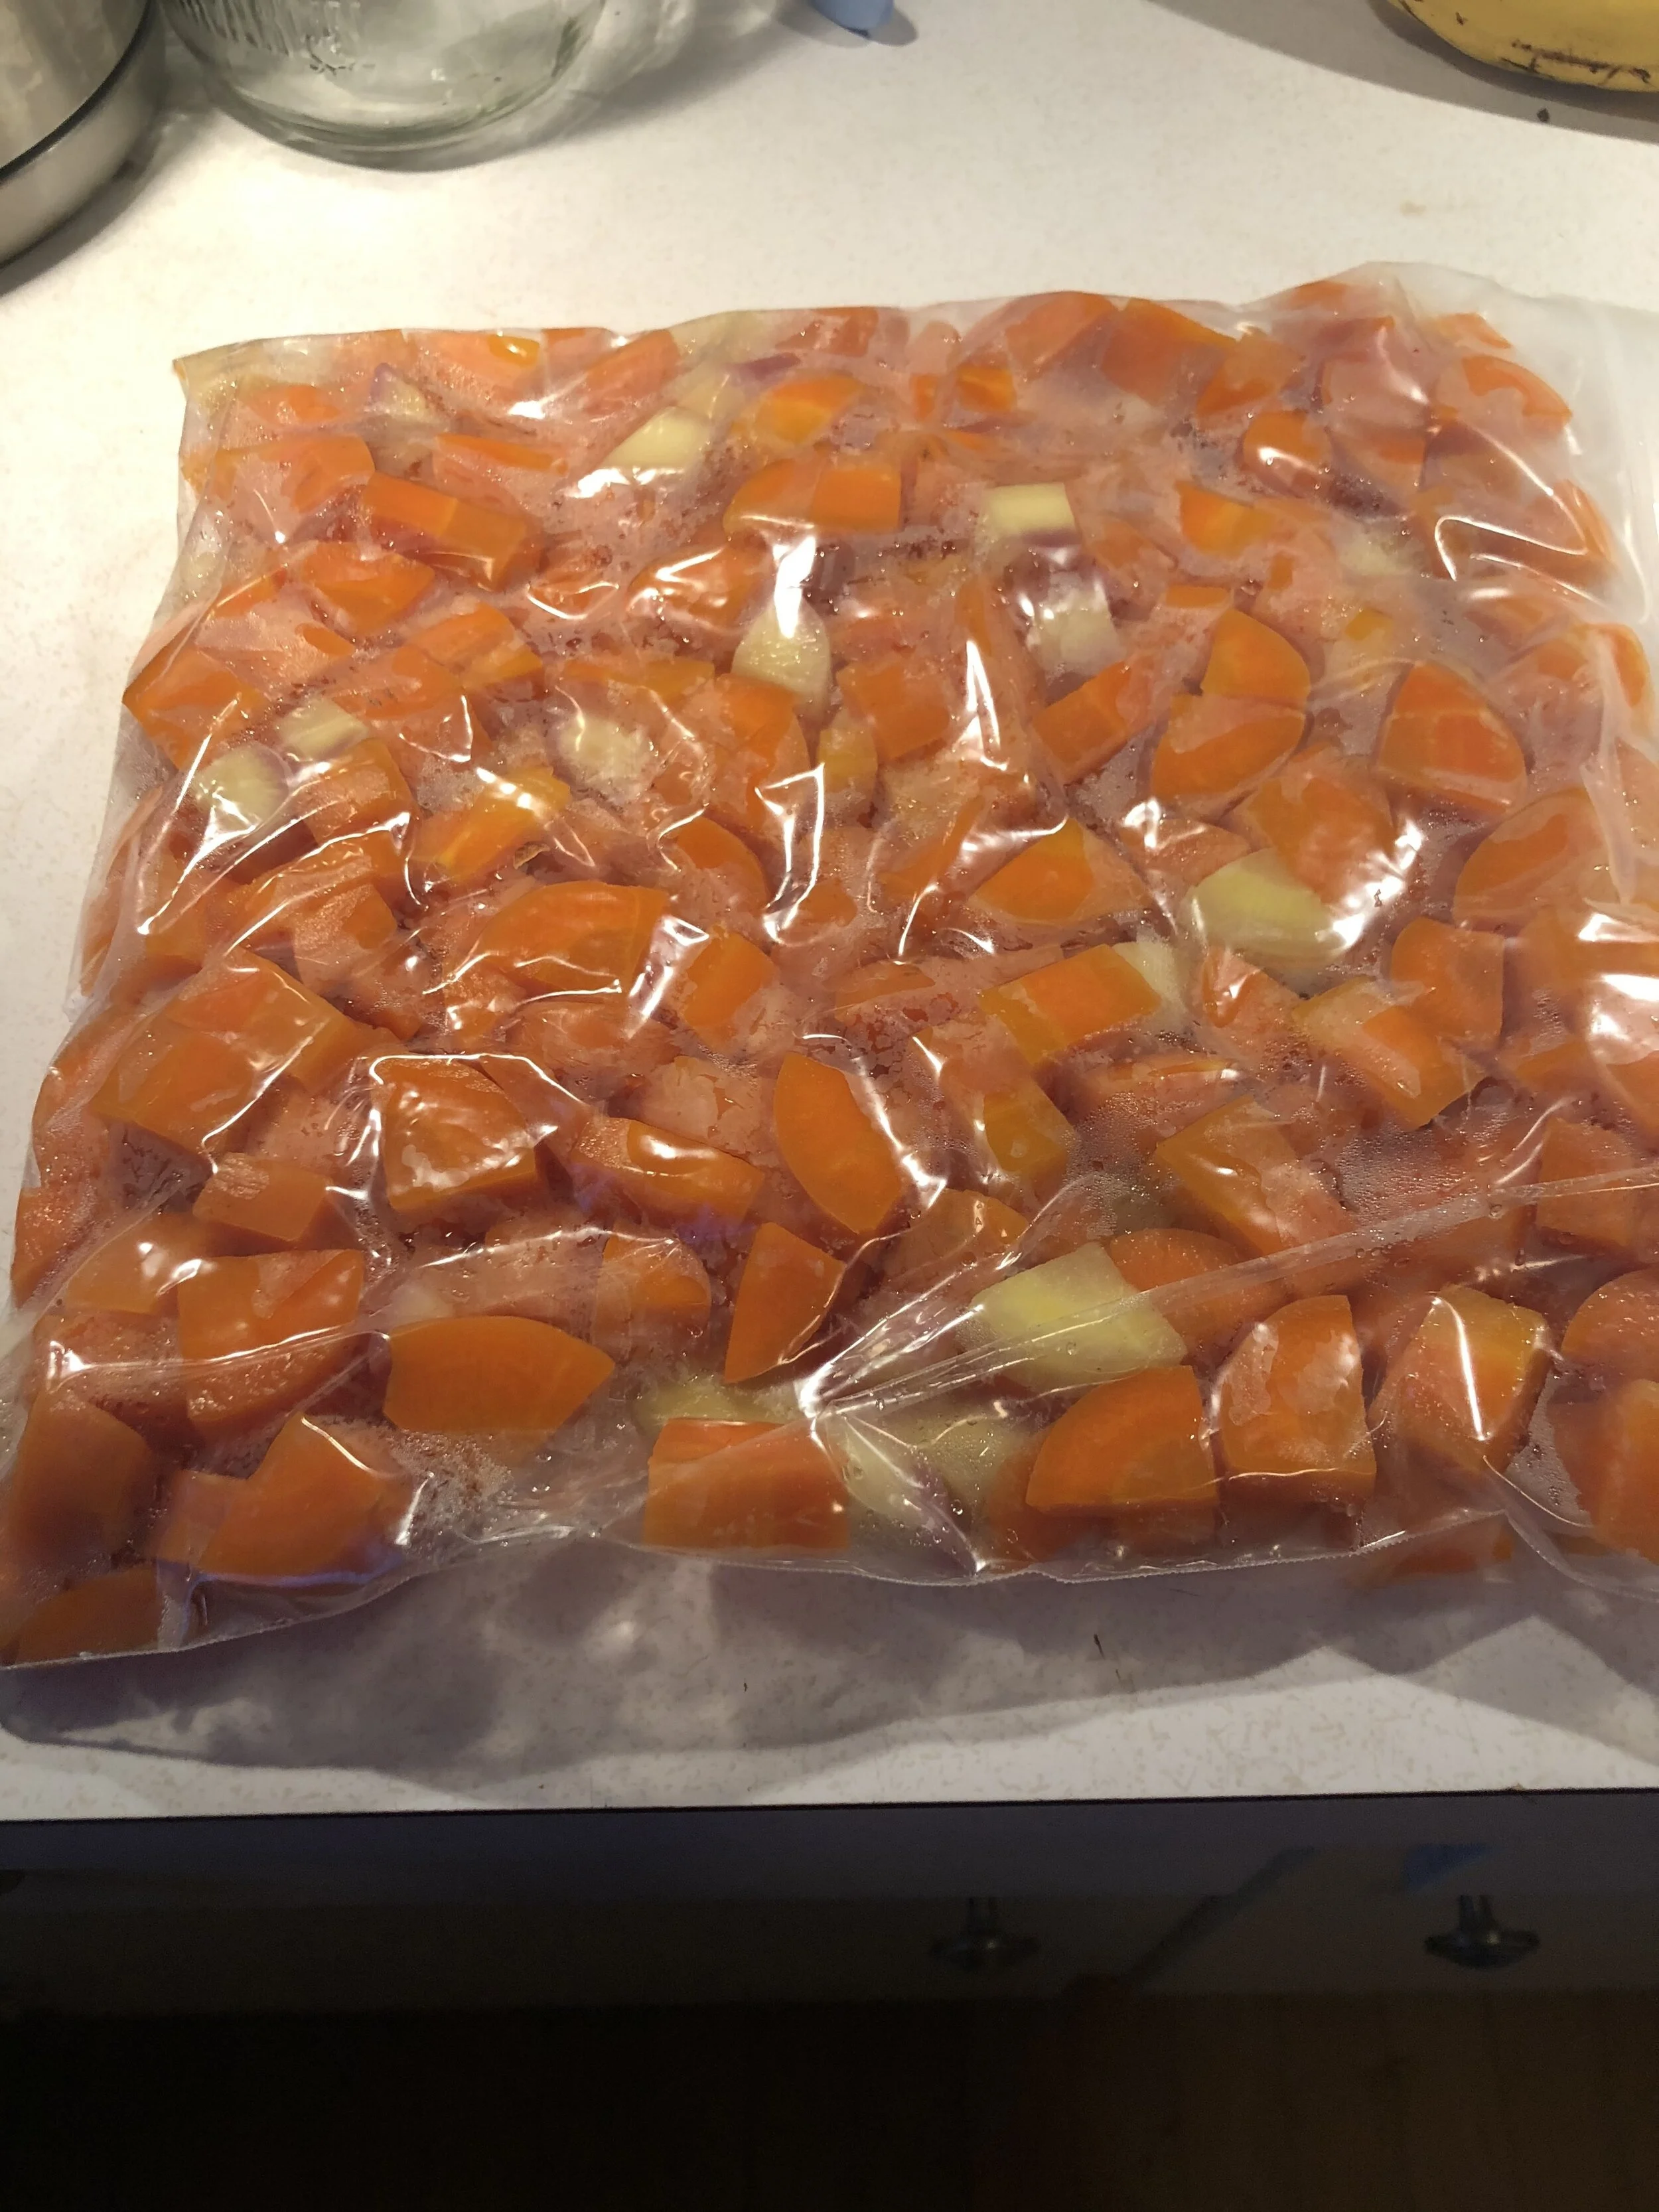
Fill your freezer bags up about 1/3 - 1/2 full. Flatten the carrots out and freeze flat. This will allow you to take the amount you’d like when you use them (without having to thaw the whole bag).
Here’s a photo journey of my carrot freezing adventure <3

Don’t forget –
When freezing, store your food in air tight containers, with as little air as possible to prevent freezer burn.
Member tip -
We have 2 Italian prune plum trees in our yard, and just when they were ready to be harvested, we had to go out of town. I picked them, cleaned them off with a paper towel, and froze them whole.
When I thawed them this winter, the “pit” slipped right out, and I made plum crisp several times.
Got a freezing or preserving tip to share? Send it to me, I’d love to add it!!!
If you have any questions, jump to our private Facebook Group or the Ask Lisa page :)
Now it’s time for canning!! Head over to Part 3.