
Preserving - Part 3
Canning Basics - equipment & sterilizing
Canning Basics
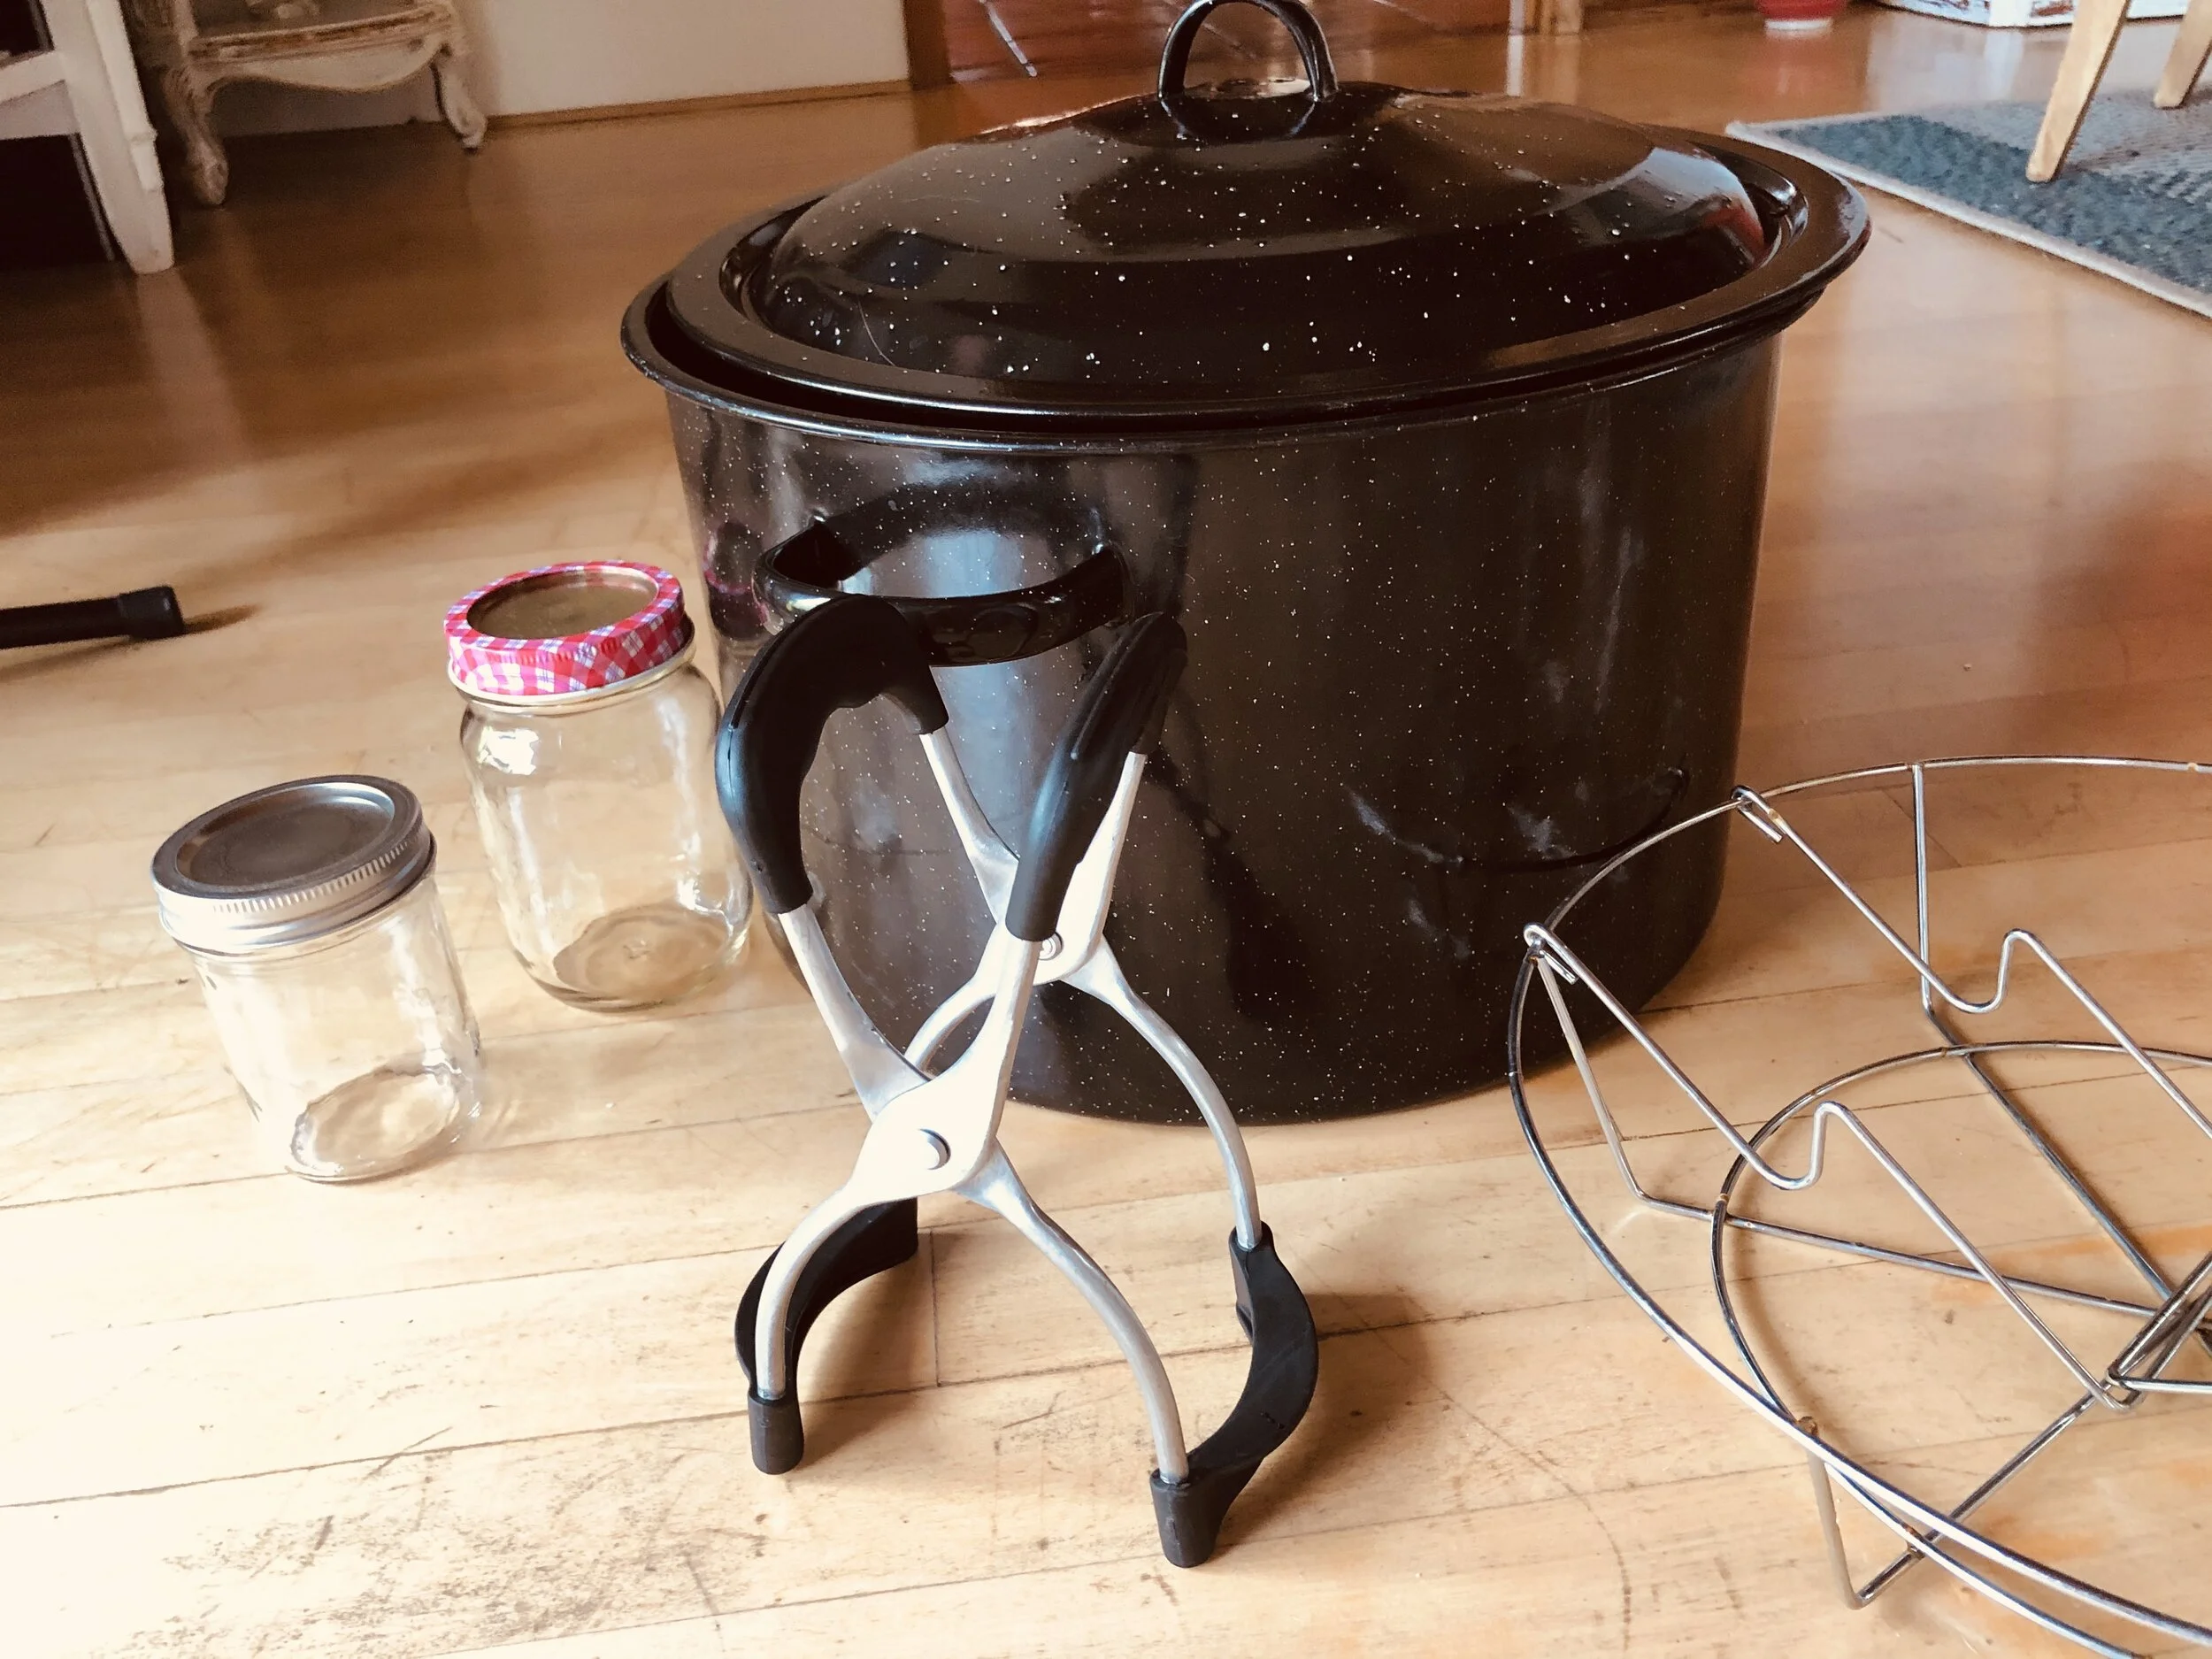
For water-bath style canning, you’ll need:
Canning Pot (pictured)
Canning jar lifter with rubber grips (pictured)
Canning jars and new lids (pictured)
Ladle
Handy extras (not pictured because I can’t find mine…)
Wide mouthed funnel
Magnet lifter (to lift hot sterile lids out of hot water)
You can get these items separately or in a canning kit. The handy extras are really handy but you can do your canning without them (as I did recently…but I’d like to find them).
You can reuse your glass jars over and over again, but you need to get new lids each time. Most stores that sell the jars also sell boxes of new lids.
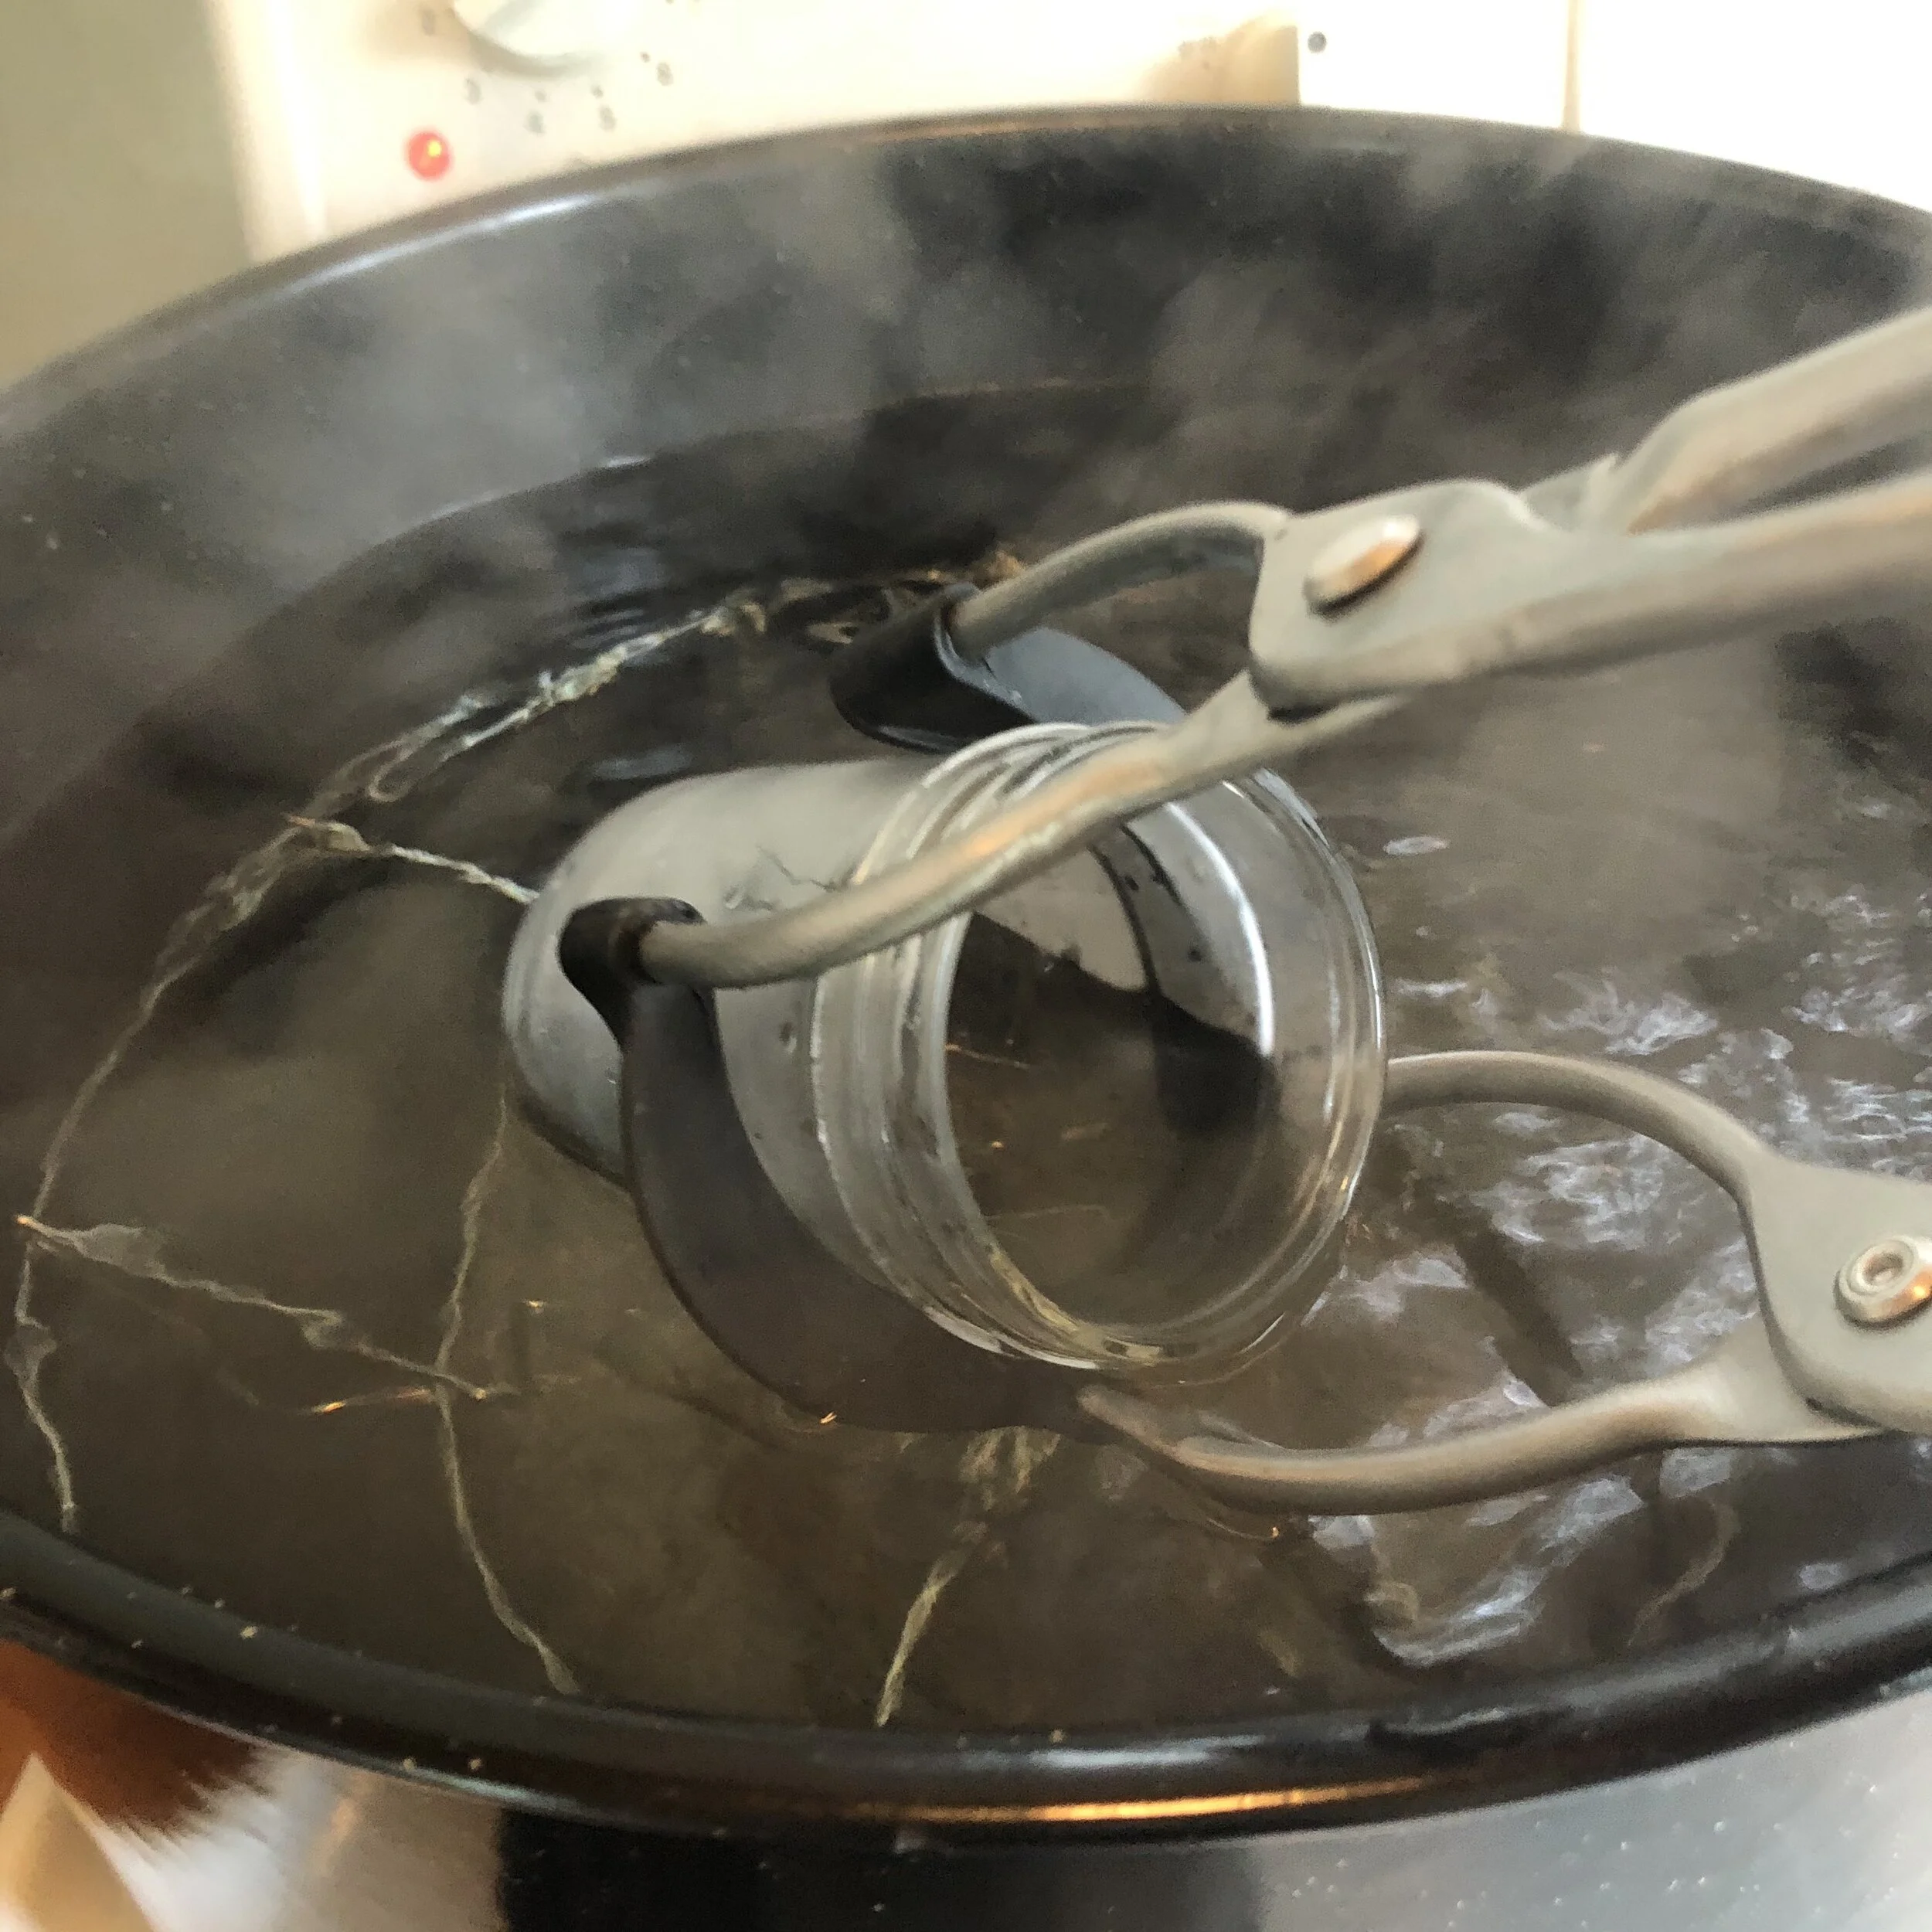
Sterilizing Jars
Even new jars need to be sterilized, but it’s a pretty easy process.
Bring the water in your canning pot to a boil
Using your jar lifters, carefully place the jars in the water (tilt them as you put them in, otherwise hot water will explode out of the jar like a volcano…as I learned myself just before I took this above photo)
Leave them to boil for 10 mins + 1 extra minute for each 1000 ft above sea level you are (I live 1300 feet above sea level, so I boil my jars for 11 mins)
Gently remove them and put them somewhere clean (like on a clean plate).
The hot water can be reused for your canning adventure :)
Sterilizing the lids
The lids can’t handle the intense heat of boiling water, it destroys the rubber seal. Instead, place in a small pot of simmering water and simmer for 10 mins + 1 min for each 1000 ft above sea level you are.
*For all canning times, both for sterilizing and for processing, always add 1 extra minute for every 1000ft above sea level.
Now you’re ready to can!
Test the jars
After your filled jars have swam in their water bath for an appropriate amount of time (as per the recipe), take them out and leave them on a tea towel to cool. As they cool the lids will indent, showing that the air tight seal is there. You can give them a light press to encourage the indent. If the lids don’t stay indented, then the seal didn’t work and they won’t store properly. Either re-process with a new lid or store in the fridge and enjoy the contents within a week :)
Important note:
For your canned food to be safe and edible, you MUST follow canning recipes to a tee. To keep bacteria from growing while the food is stored there must be a specific balance of acid or sugar. Any adjustments to the recipes could mean that your food will spoil, or that it may ferment and explode in your cupboards.
So, if you’re like me and like to reimagine recipes as you go…you gotta reign in it and stay with the recipe <3.
If you have any questions, jump to our private Facebook Group or the Ask Lisa page :)
Time for jam :). Head over to Part 4.