Homemade Remedies - Part 5
Rose Hip Oil
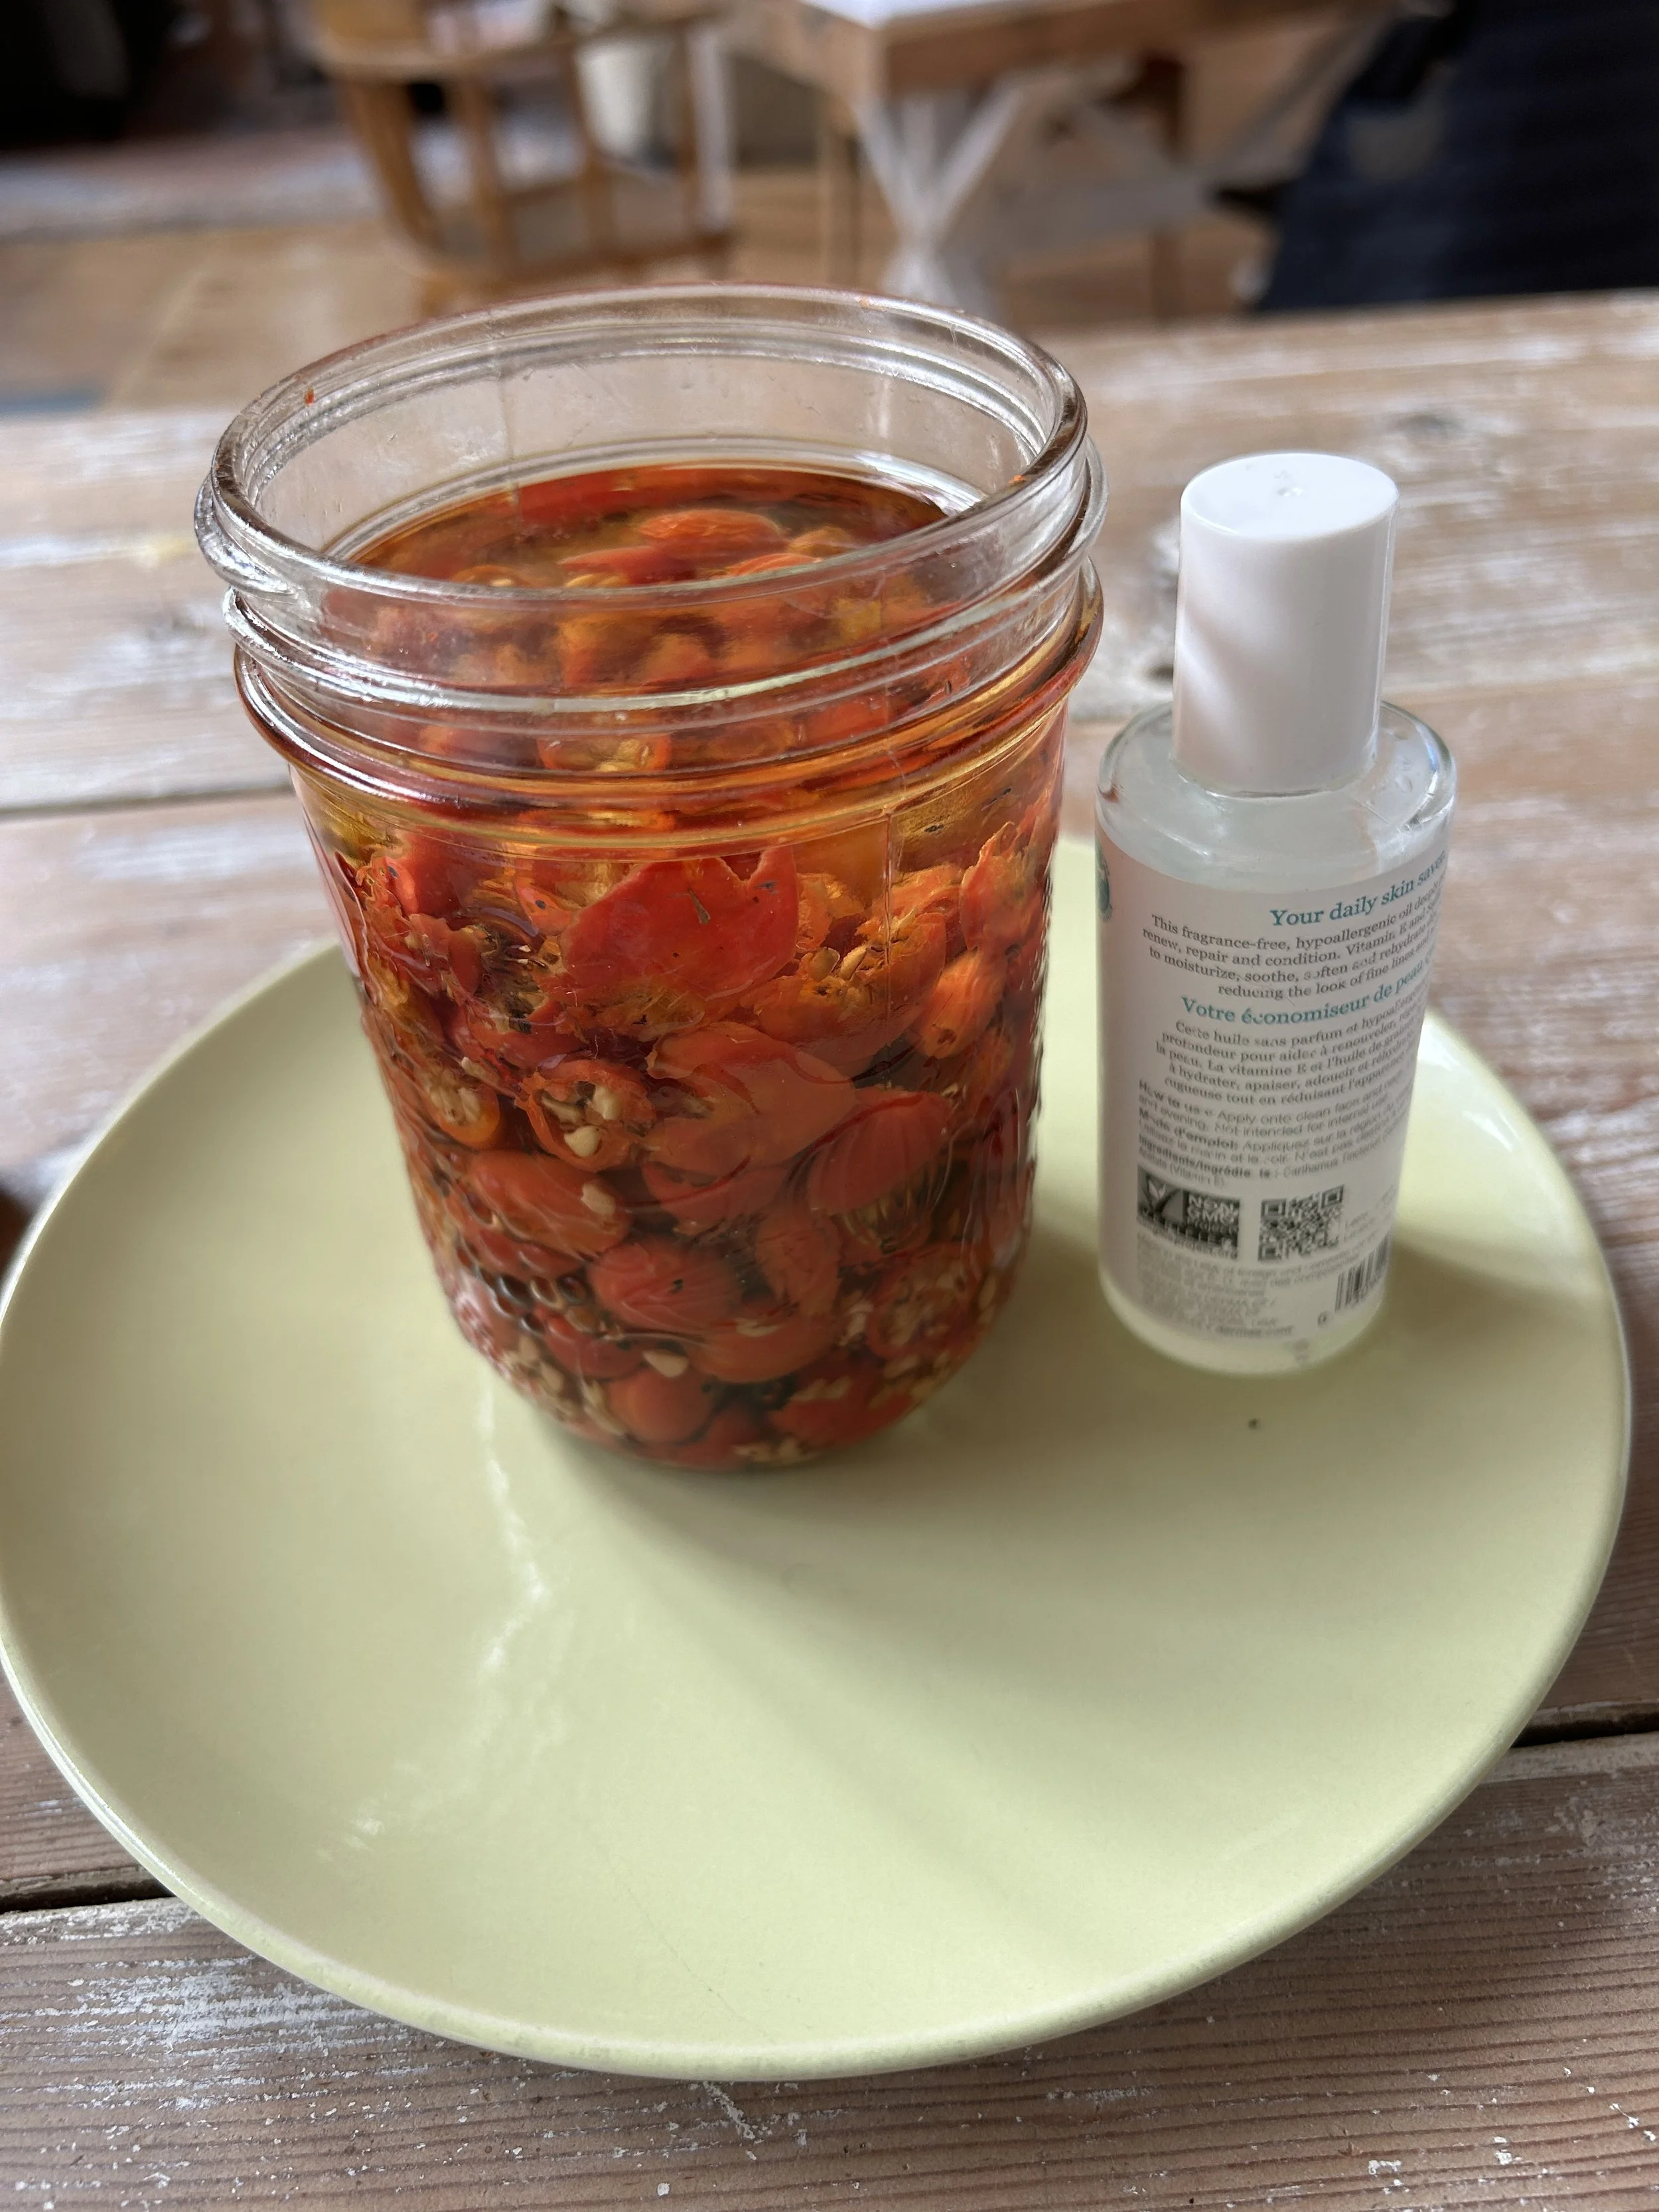
Rose hip oil is like liquid gold for your skin. It’s loaded with skin-loving nutrients like vitamins A and C, plus essential fatty acids that work wonders for hydration and glow.
People love it for its natural ability to smooth out fine lines, fade dark spots, and even out skin tone. And when you make it yourself, you know you’re getting a pure, fresh oil with no weird additives. This is my skin’s favourite oil. I have a baggy of rose hips in my freezer so I can make more if I run out before next fall :)
So if you’re up for a simple DIY that gives your skin some serious love, rose hip oil is totally worth the effort!
DIY Rose Hip Oil
Ingredients:
1 cup dried rose hips (preferably organic)
1 cup carrier oil (e.g., almond, jojoba, or olive oil)
1 tsp Vitamin E oil (optional but increases its shelf life)
Instructions:
Water Bath Method (Slow Cooker):
Place dried rose hips in a clean, heat-safe jar.
Pour the carrier oil over the rose hips, making sure they’re fully submerged.
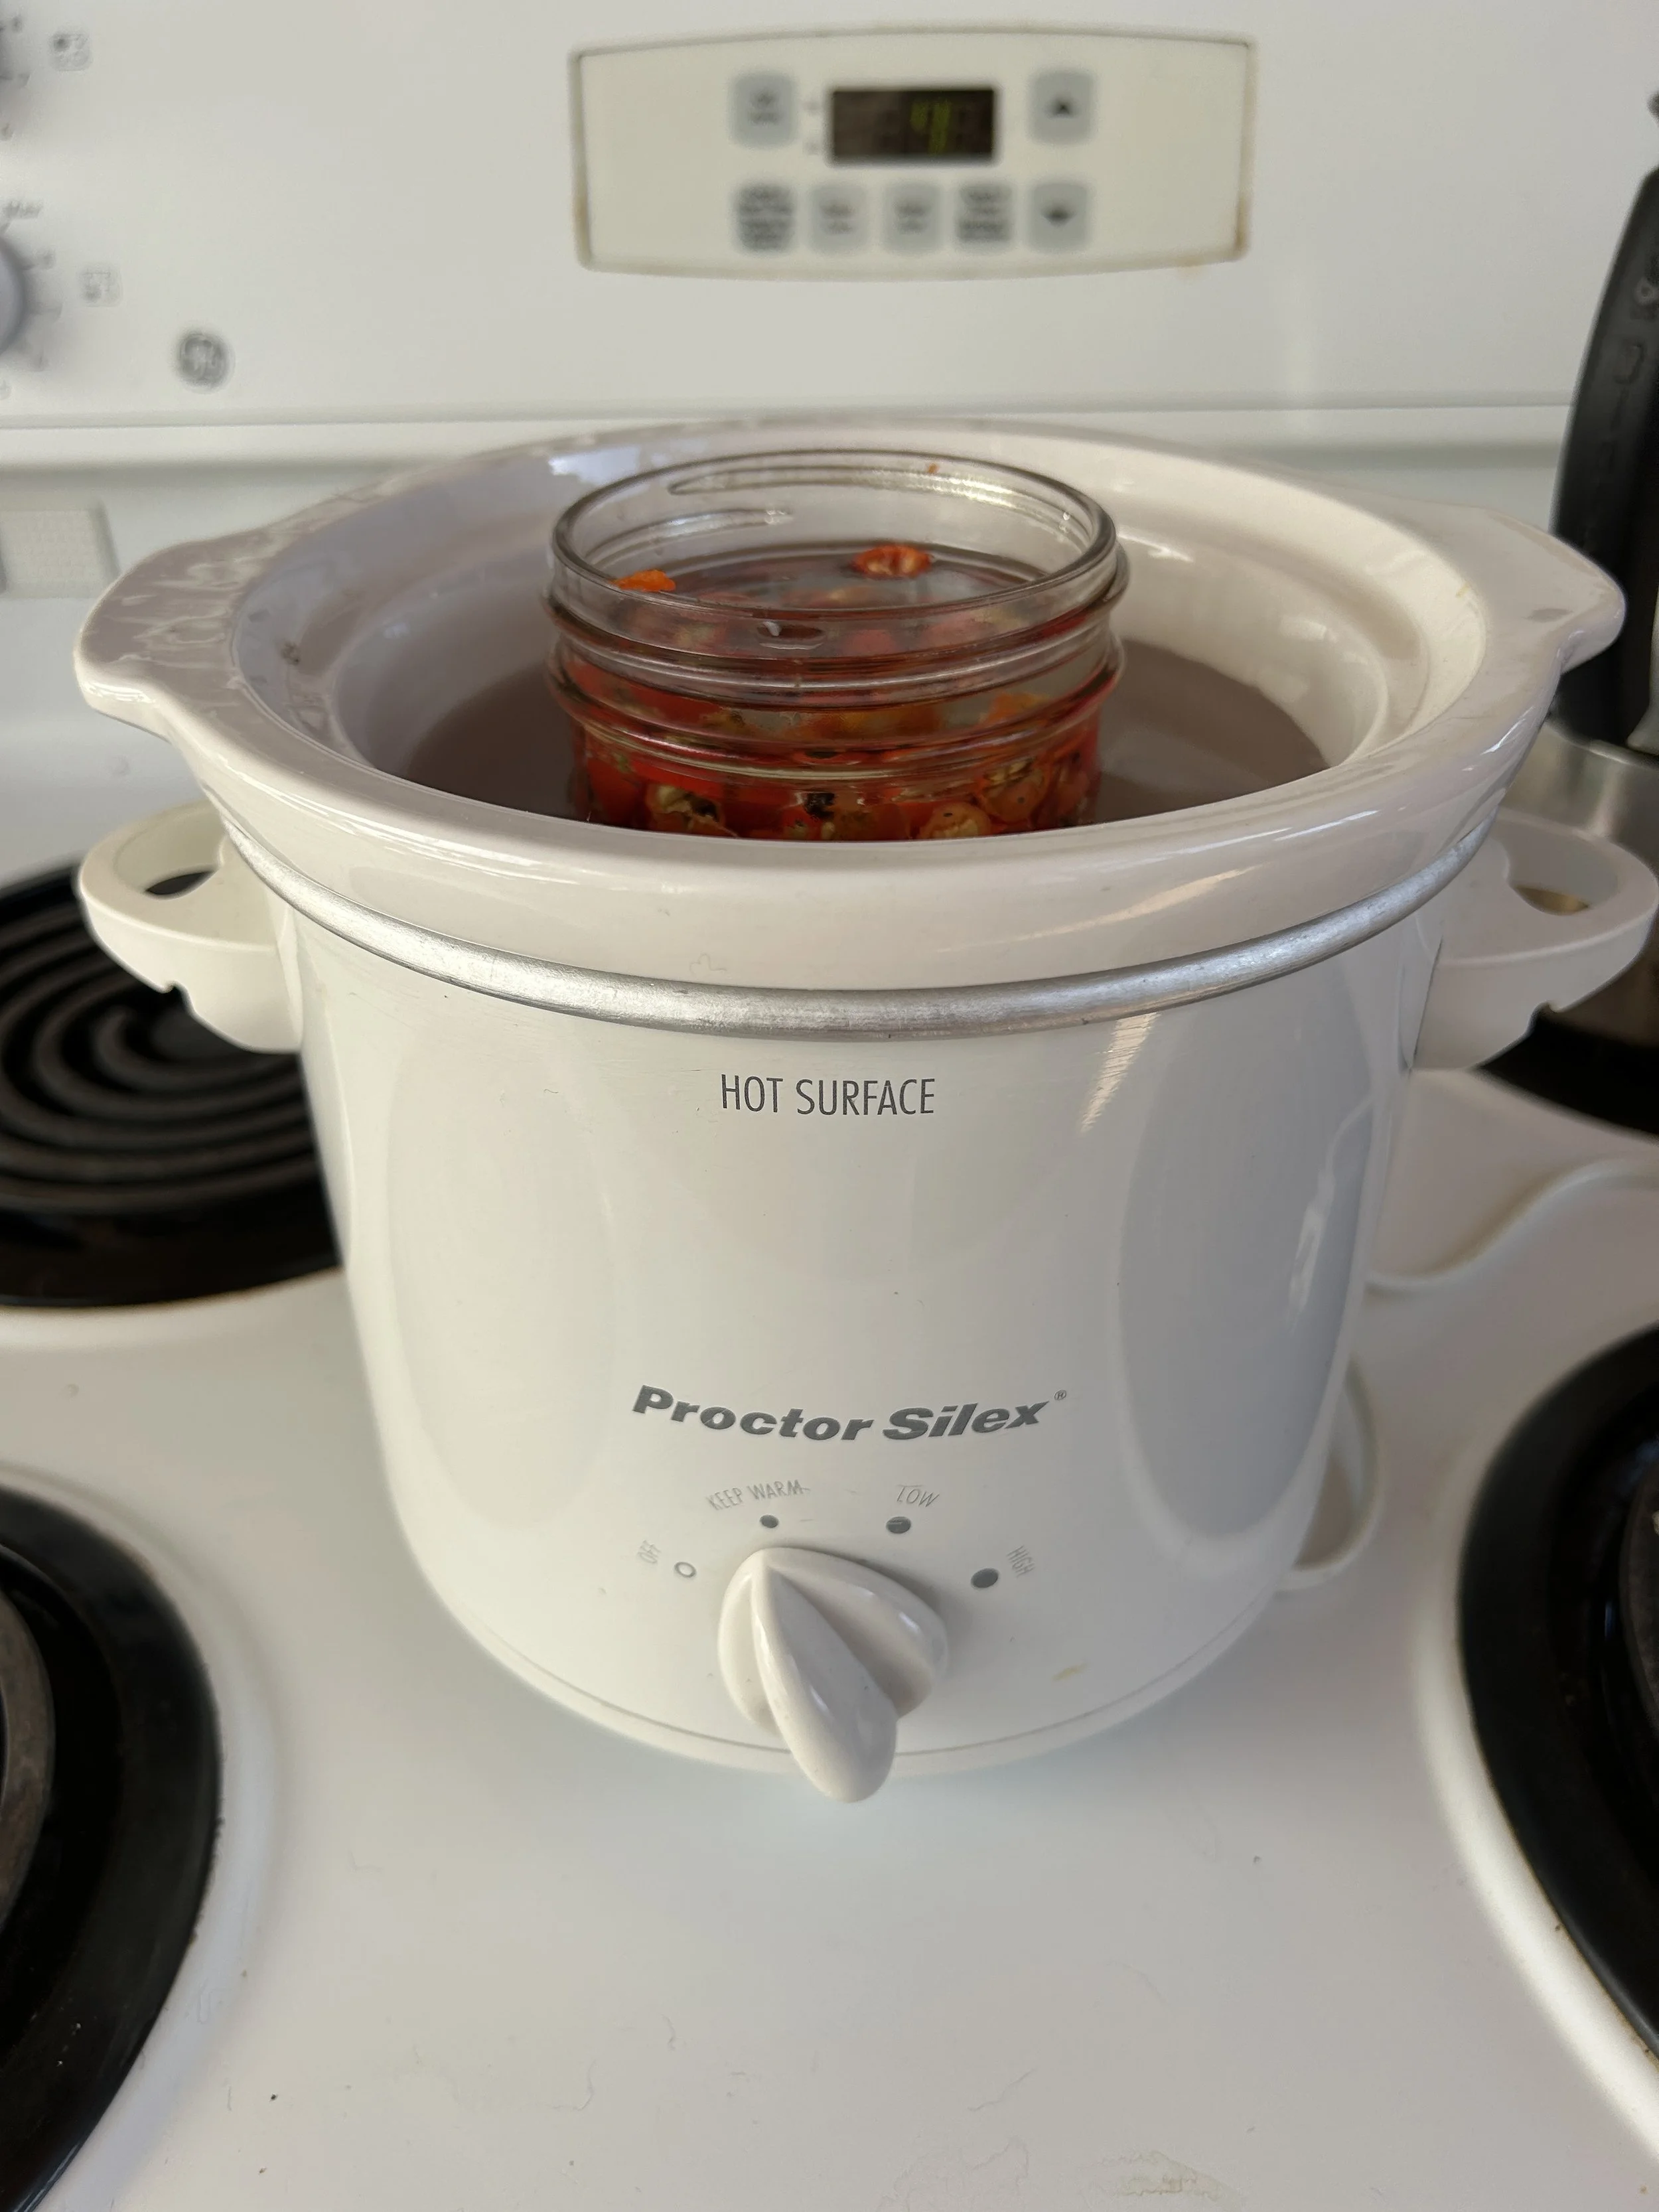
Fill your slow cooker with a few inches of water to create a gentle water bath, then place the jar inside. Ensure the water level stays below the rim of the jar to avoid any spills.
Set the slow cooker to low heat or keep warm. Infuse the mixture for 4–6 hours, checking occasionally to keep the water level consistent and avoid overheating.
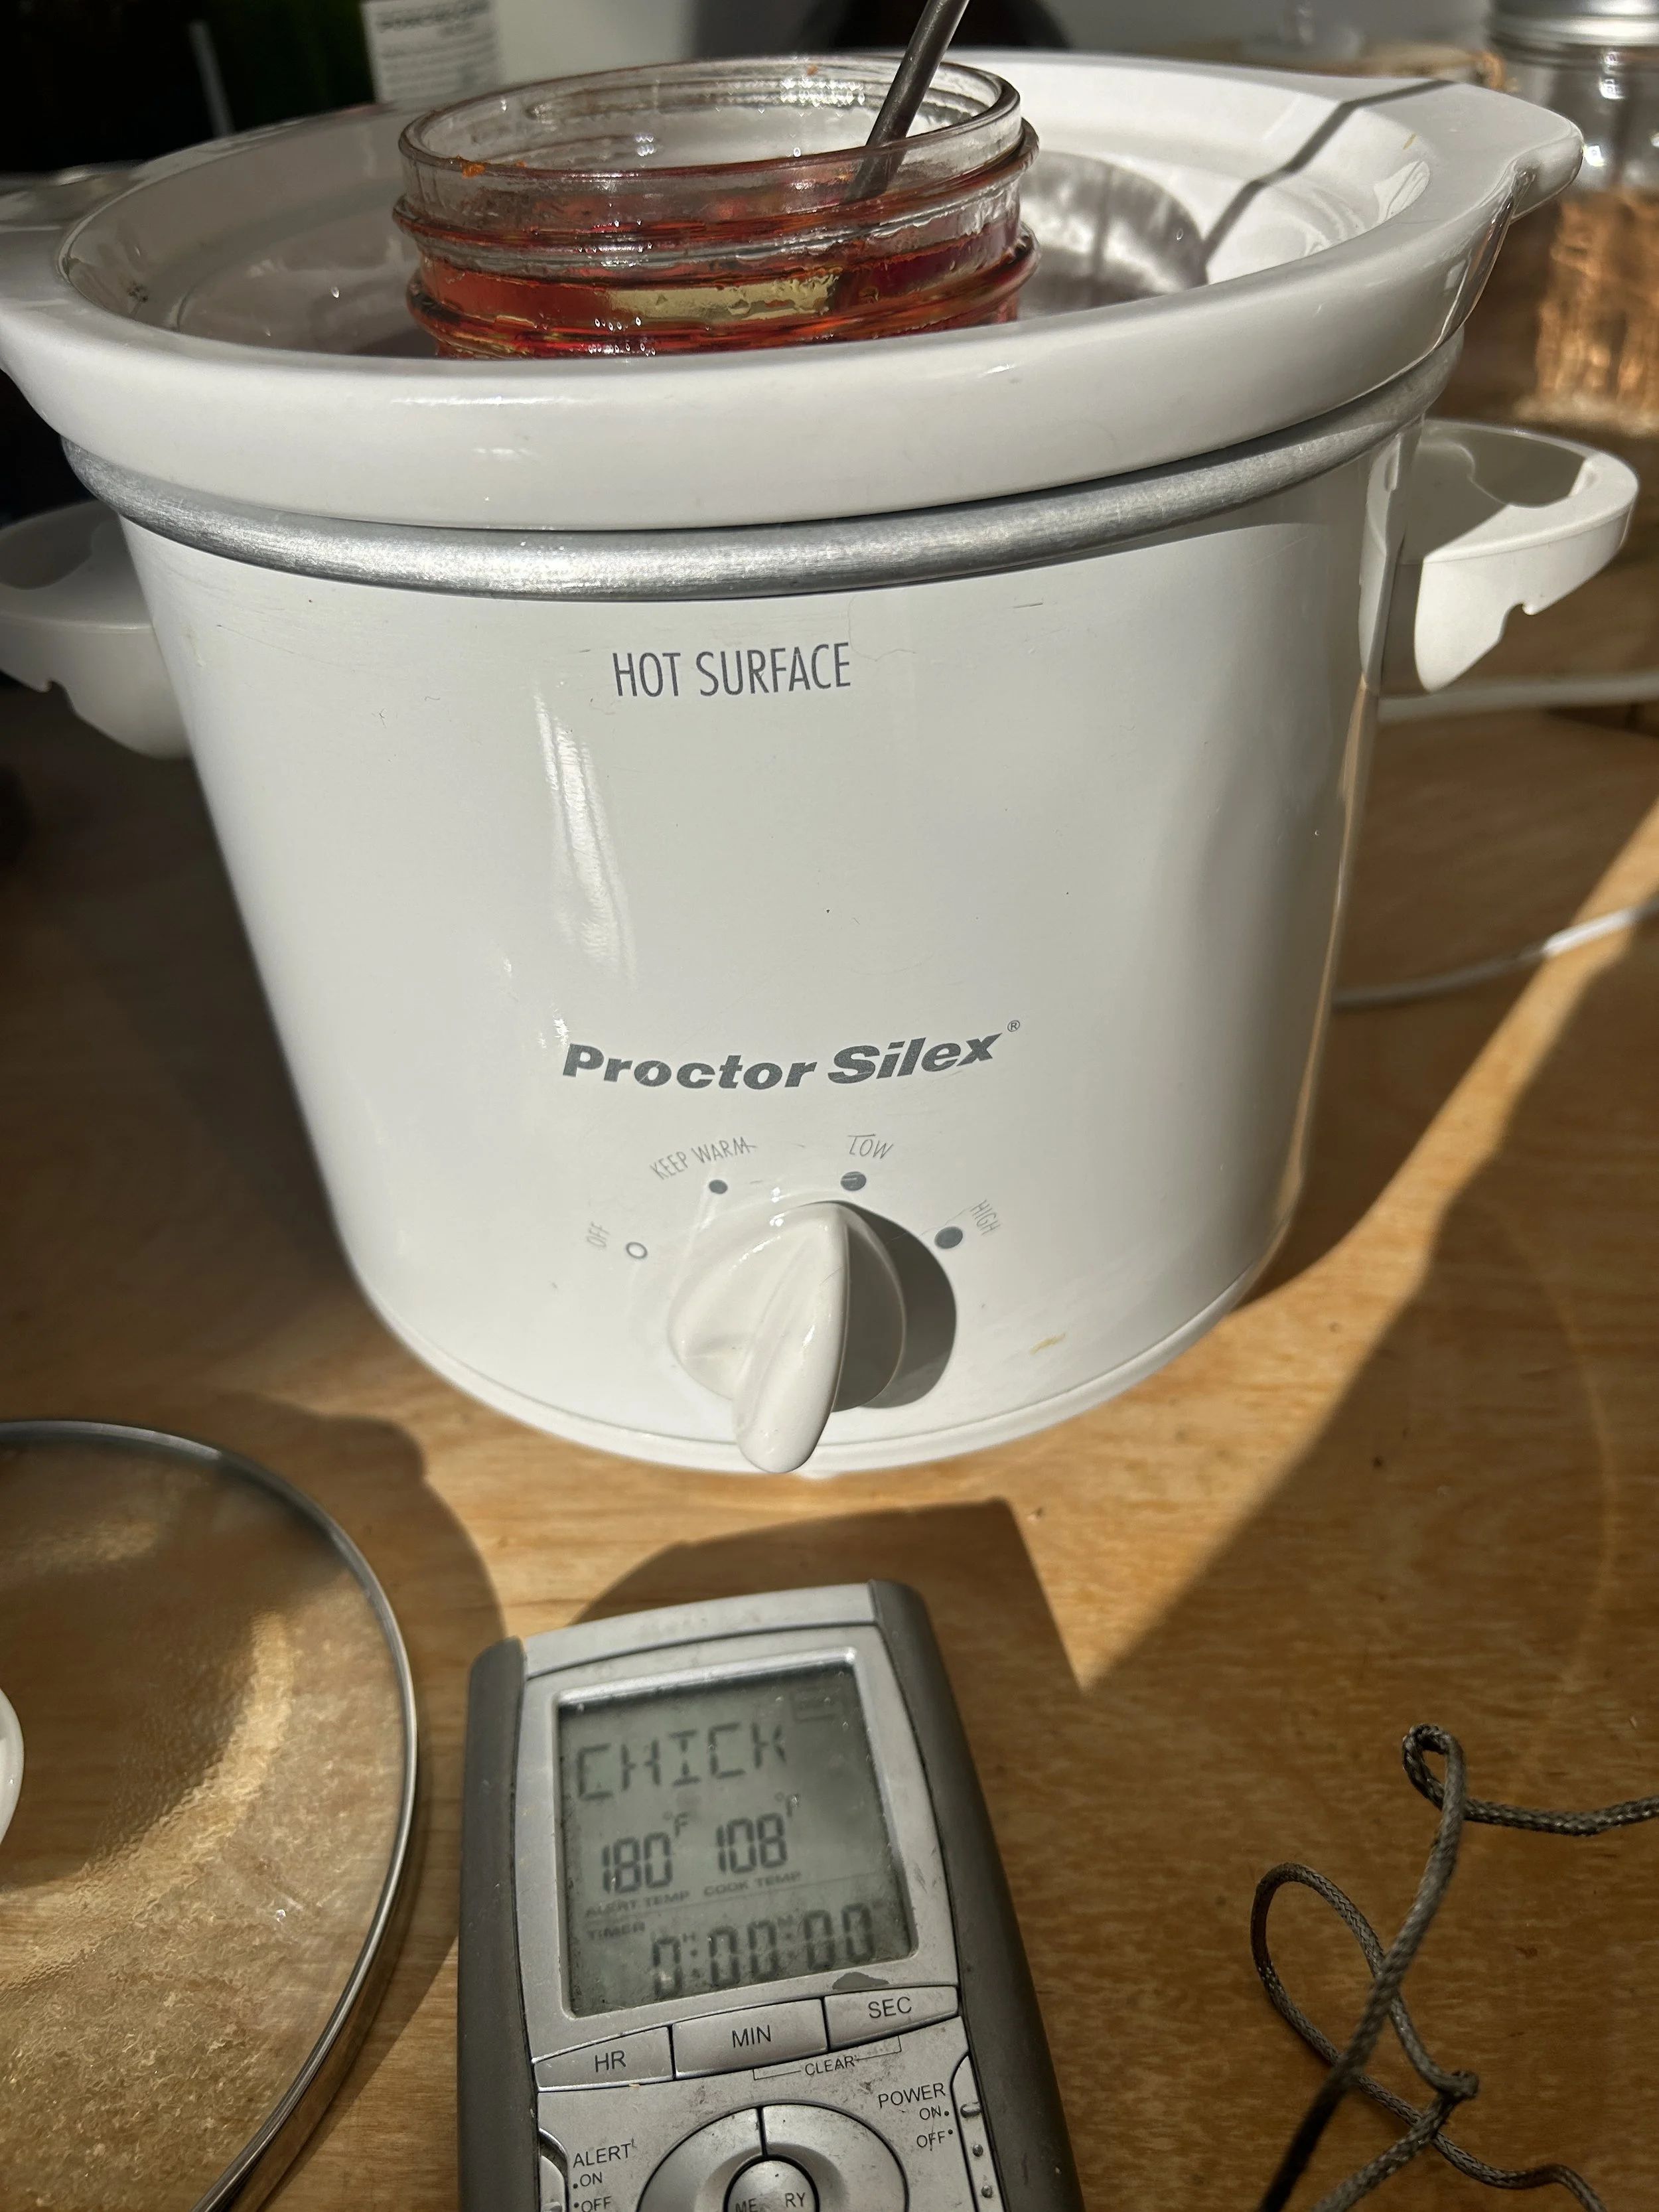
After an hour or so, check the temperature of the oil - it should be at about 110F. Adjust your temp accordingly.
Carefully remove the jar from the slow cooker and let the oil cool.
Strain the mixture through a fine mesh sieve or cheesecloth to remove the rose hips.
Add 1 tsp of vitamin E oil as a natural preservative, stirring gently.
Pour the rose hip oil into a clean, dark glass bottle, and store it in a cool, dark place (I keep my extra oil in the fridge).
Storage Tip: Properly stored, your rose hip oil can last up to a year, thanks to the added vitamin E.
Sunlight Method:
Add dried rose hips to a clean glass jar.
Pour in the carrier oil, covering the rose hips completely.
Seal the jar tightly and place it in a sunny spot for 2–4 weeks, gently shaking the jar every day.
After 2–4 weeks, strain the oil through a fine mesh sieve or cheesecloth. Add Vitamin E
Transfer the oil to a dark glass bottle and store it in a cool, dark place.
Storage Tips:
Keep your rose hip oil in a cool, dark place, and it should last for up to a year. Enjoy using it on your skin for a natural glow!
Here’s a play by play of each step:
Step 1: Find some rose hips
They’re super bright red and can be easily spotted :). Wear gloves if you can, they’re protected by thorns :).
Freeze them overnight (or longer) if you can - this makes Step 2 much easier. Thaw before moving onto Step 2.
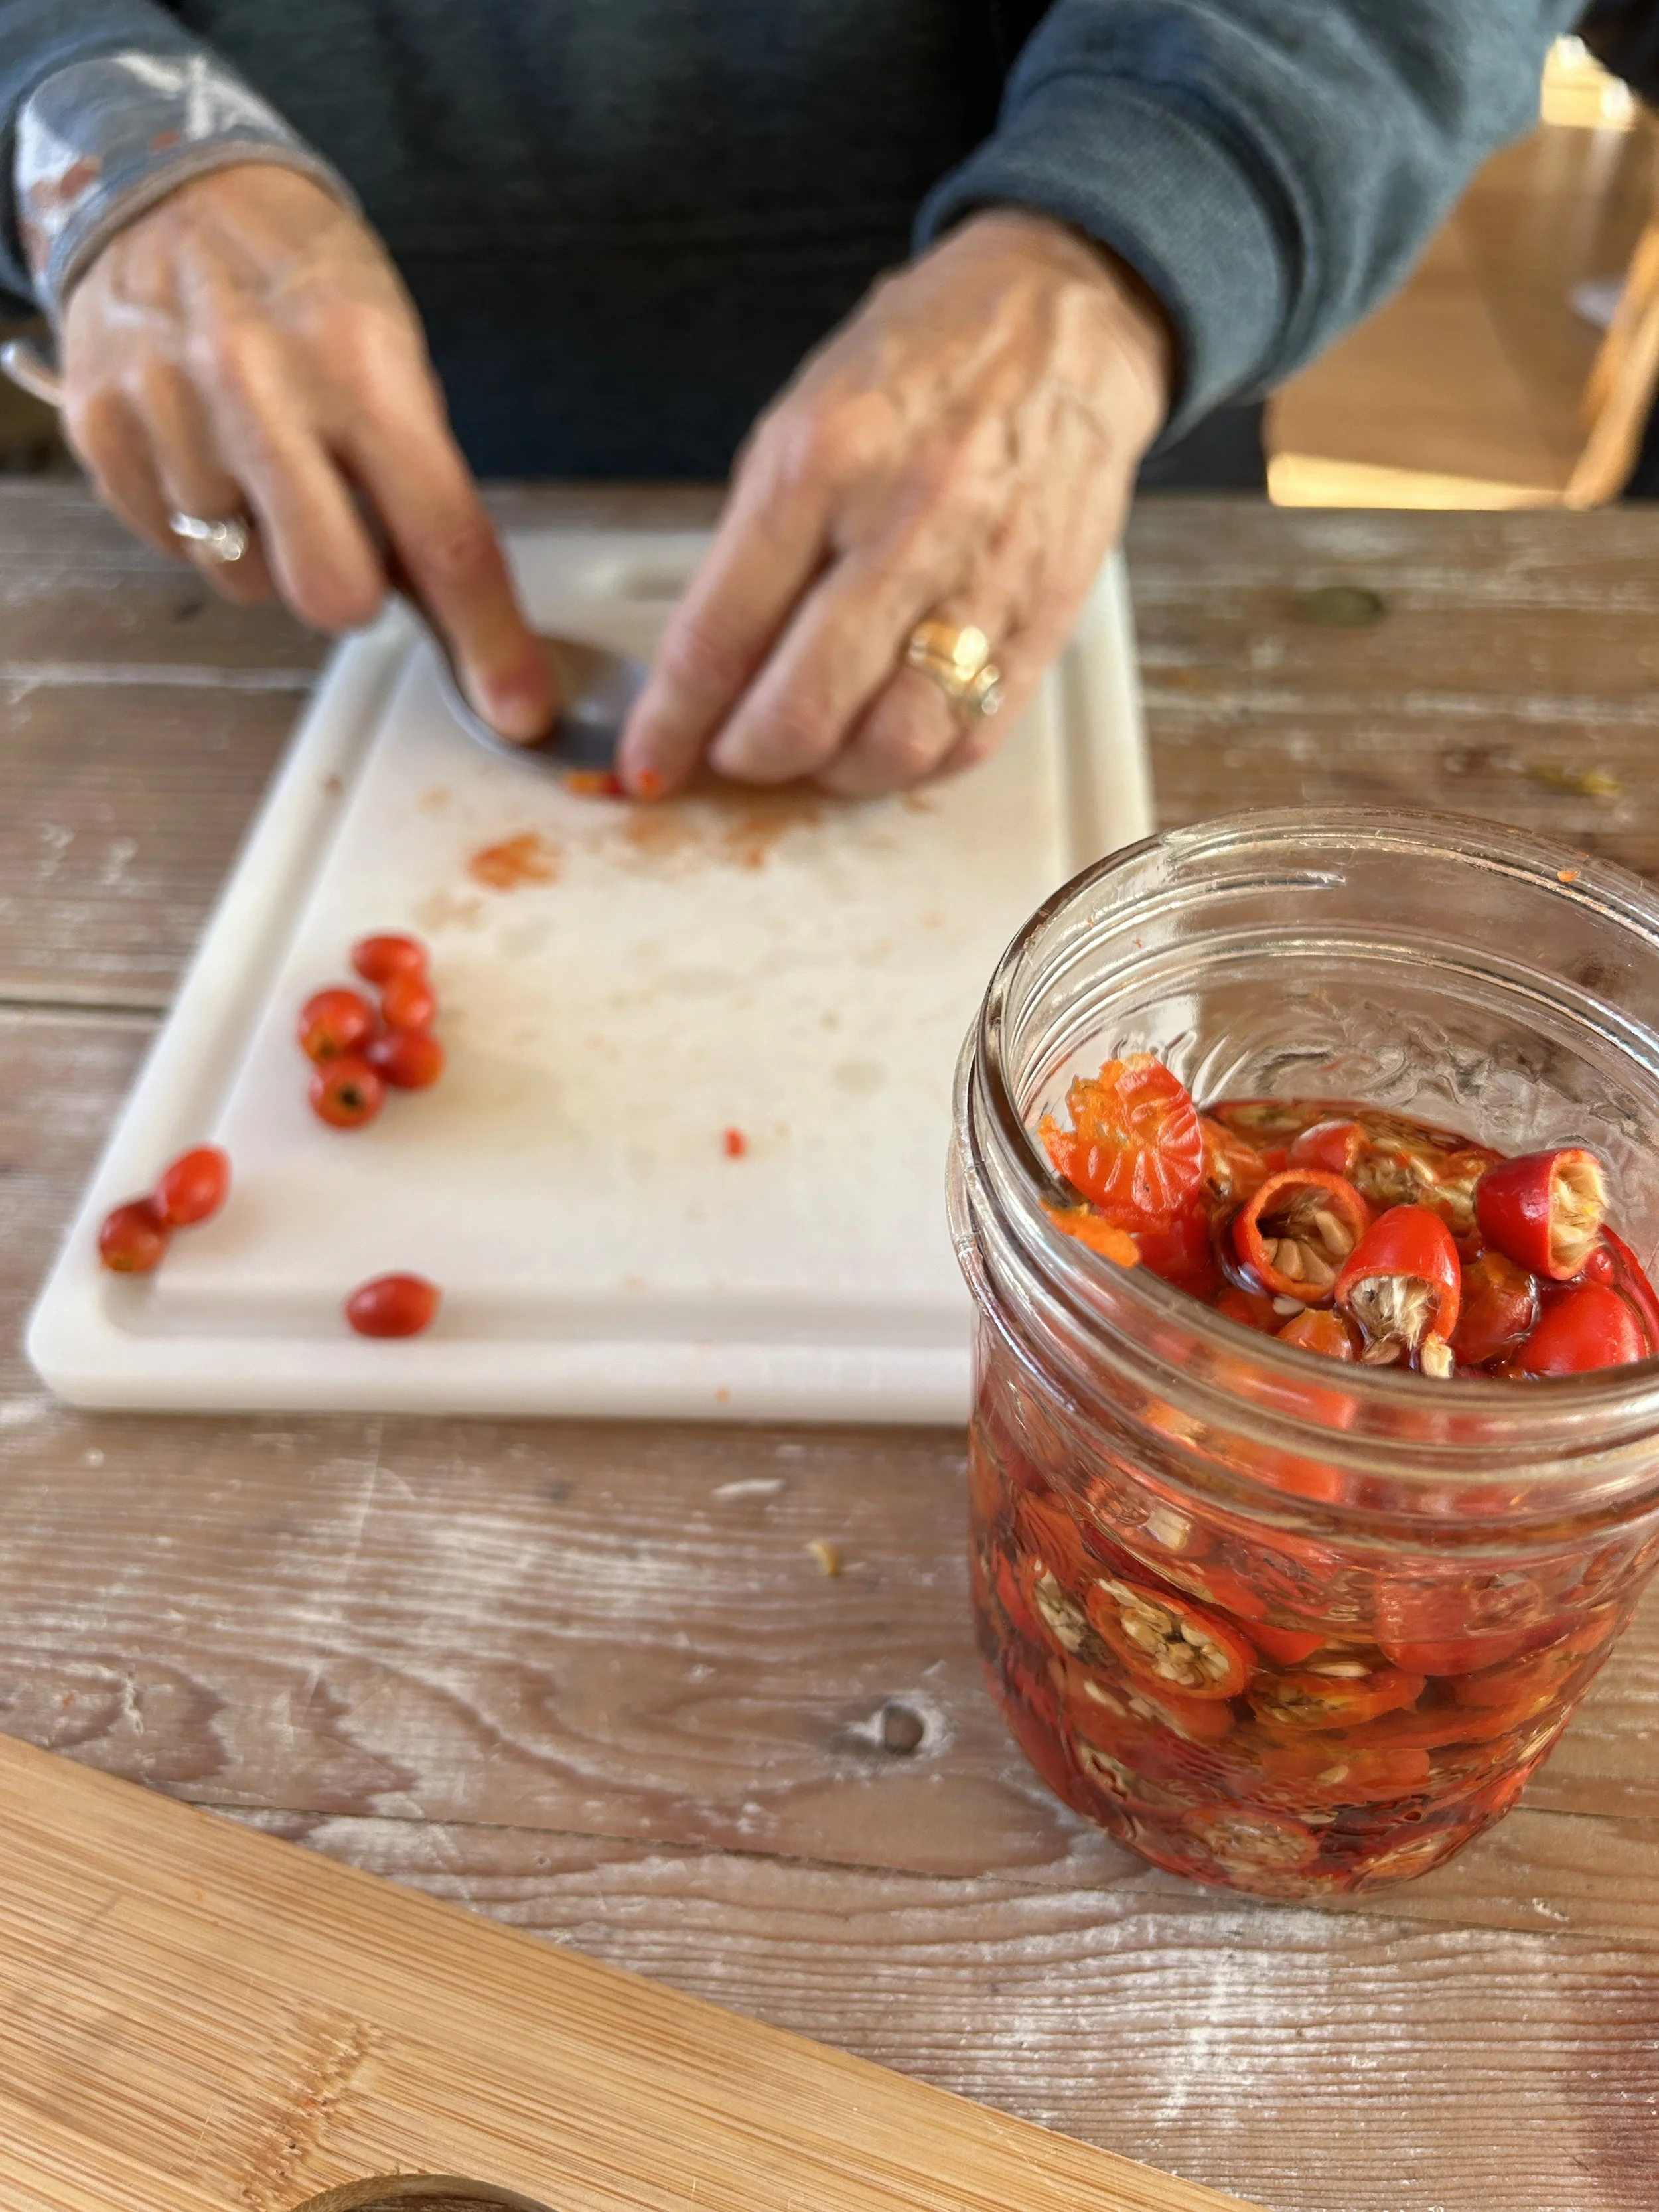
Step 2: Cut or squish each Rose Hip
Each rose hip has a very hard shell protecting the seeds, and you want the seeds exposed to the oil. Cut each one in half, or squish with a knife if you’ve frozen and thawed them.
Step 3: Cover in oil and set up your water bath
I used a small mason jar, but any heat-proof container would work. I have a small slow cooker which is handy, but you can use a large one.
Put the rose hips in your jar, cover in oil, and place in the water bath. Keep the water at least an inch below the top of the jar so the water doesn’t get into the oil.
Set your temp to low or keep warm. For my slow cooker, keep warm was the perfect temp, but each slow cooker will be a little different.
Step 4 - check the temp after an hour or so
I used my meat thermometer (which is why it says “CHICK”), to see what temp it is. My keep warm setting brought it to 108F, which is fantastic so I didn’t change the temp.
Leave it infusing for 4 - 6 hours.
Step 5: LET it cool
(That’s VERY IMPORTANT)
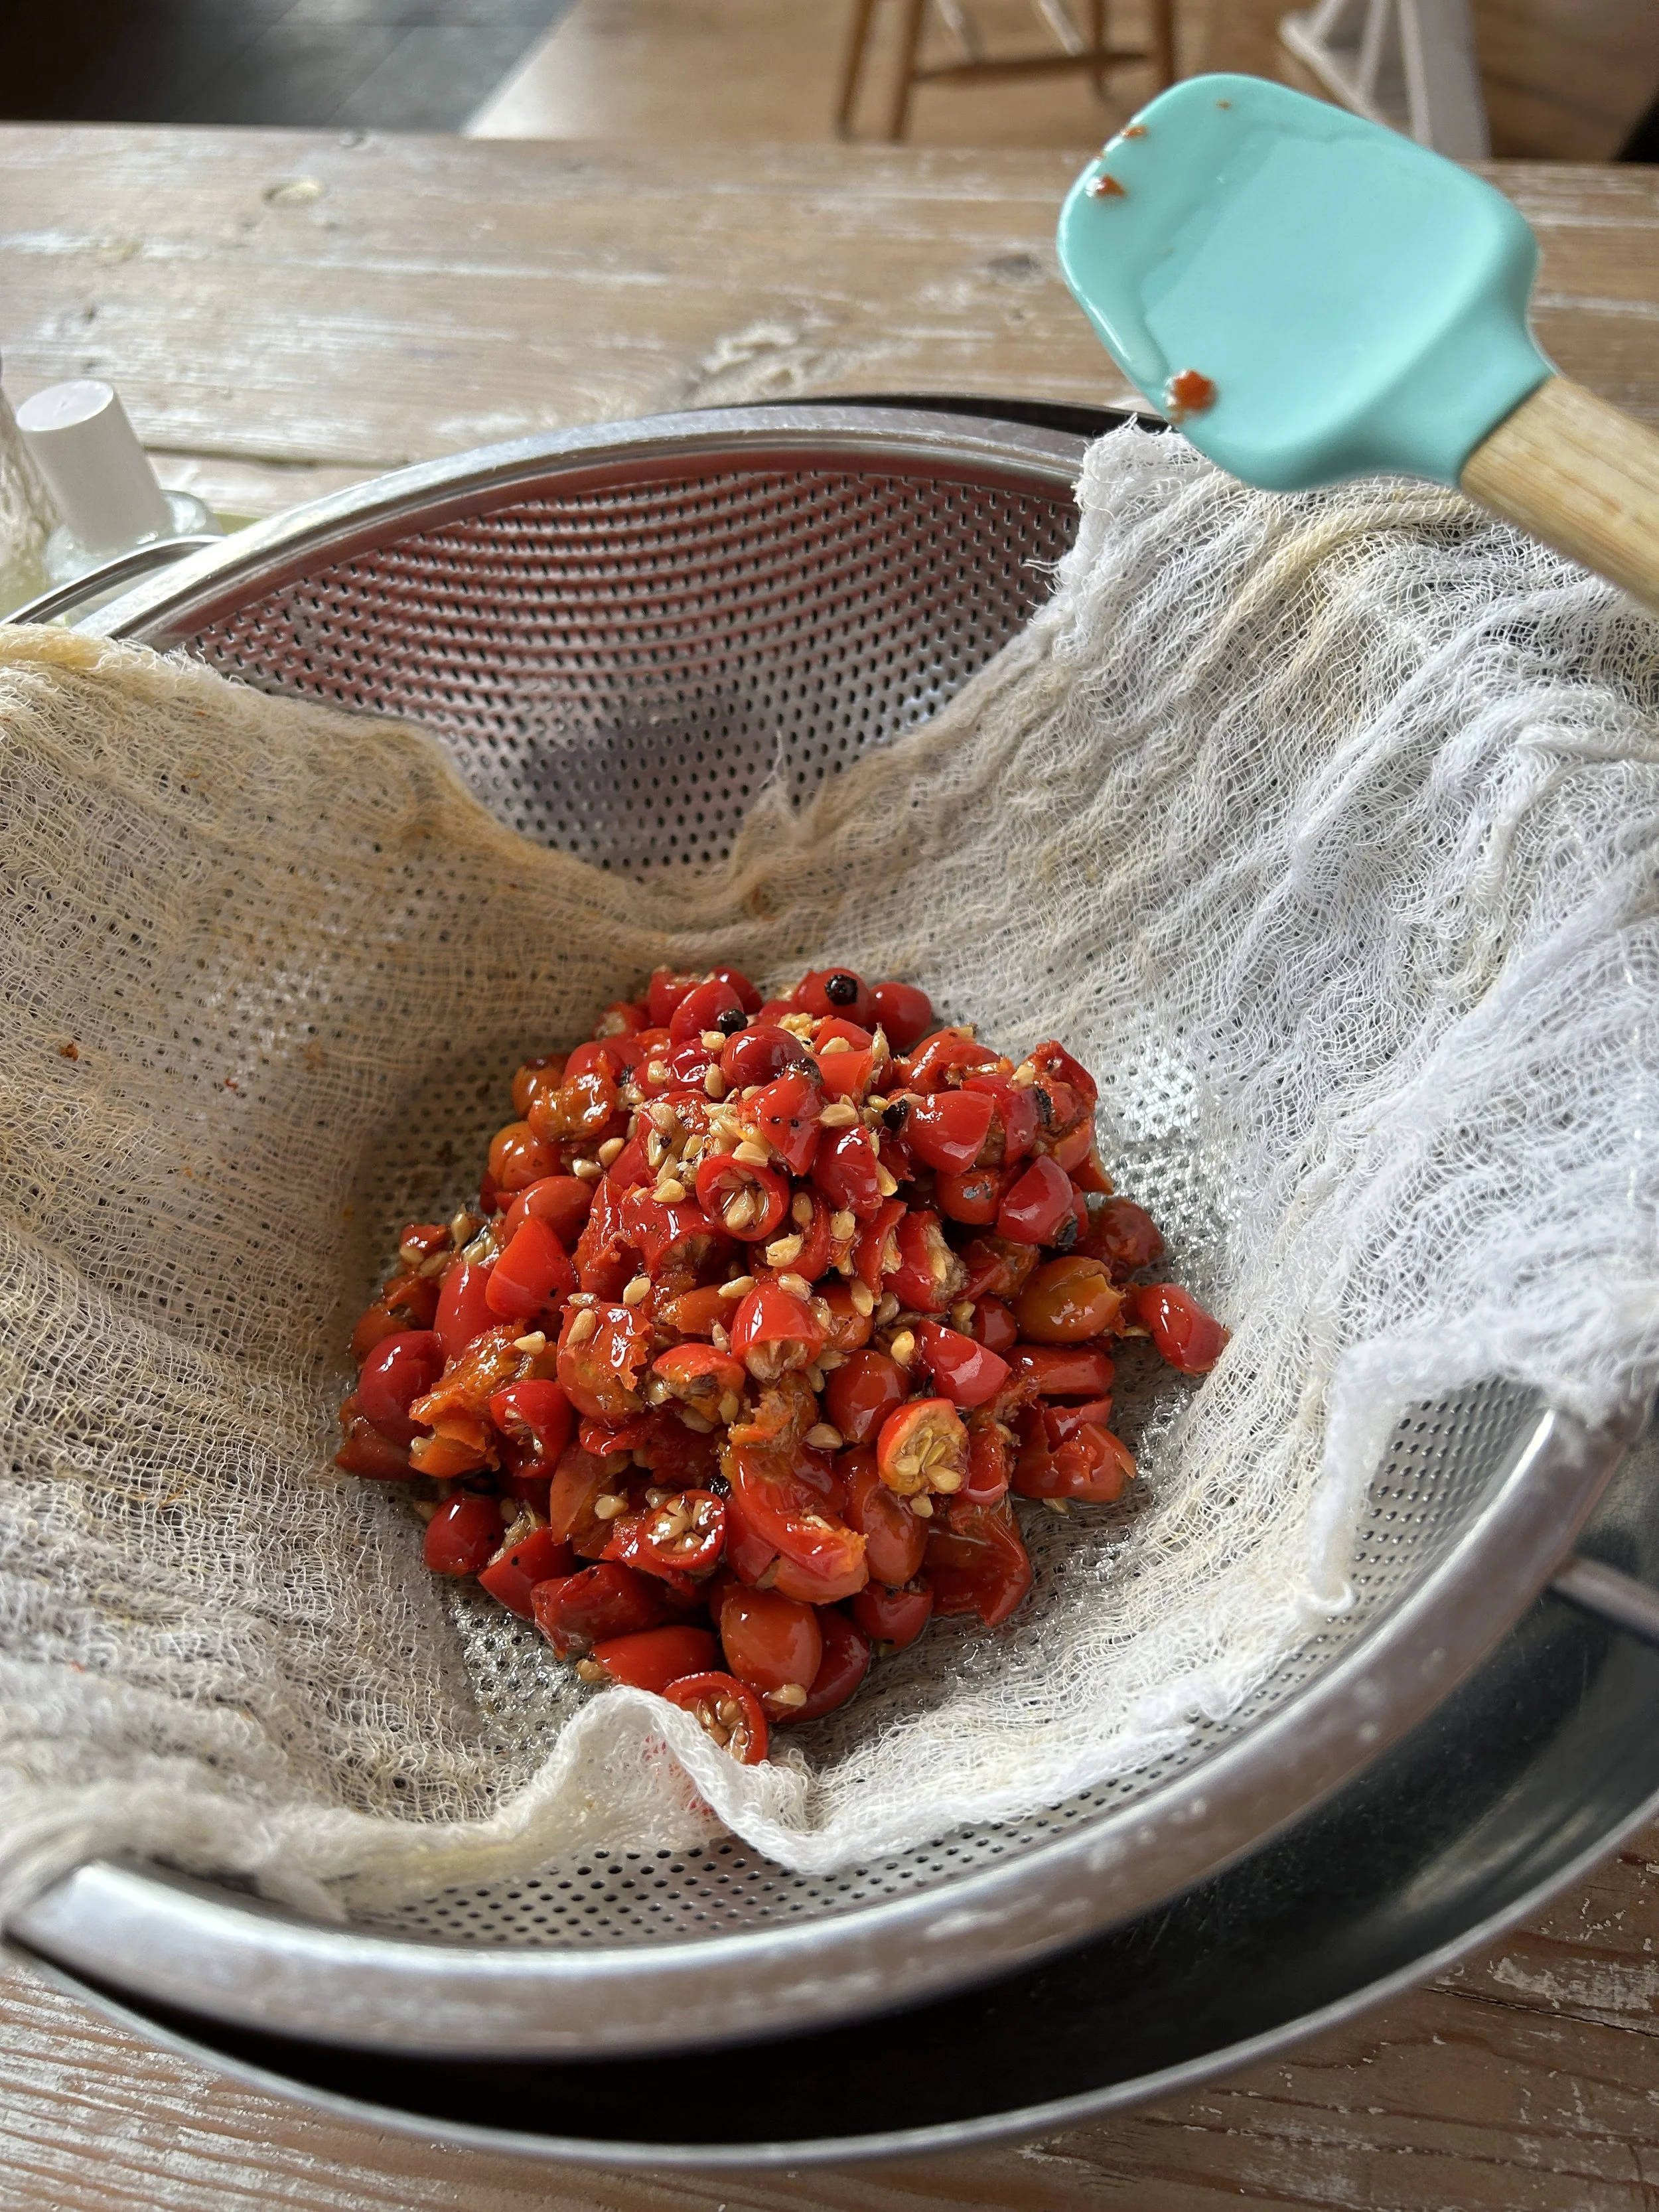
Step 6: Strain the oil/rose hips
Use a fine mesh strainer or cheese cloth. I used both to be sure I didn’t lose any. Really squeeze it so you don’t lose any of the glorious oil.
Add 1 tsp of Vitamin E to the oil.
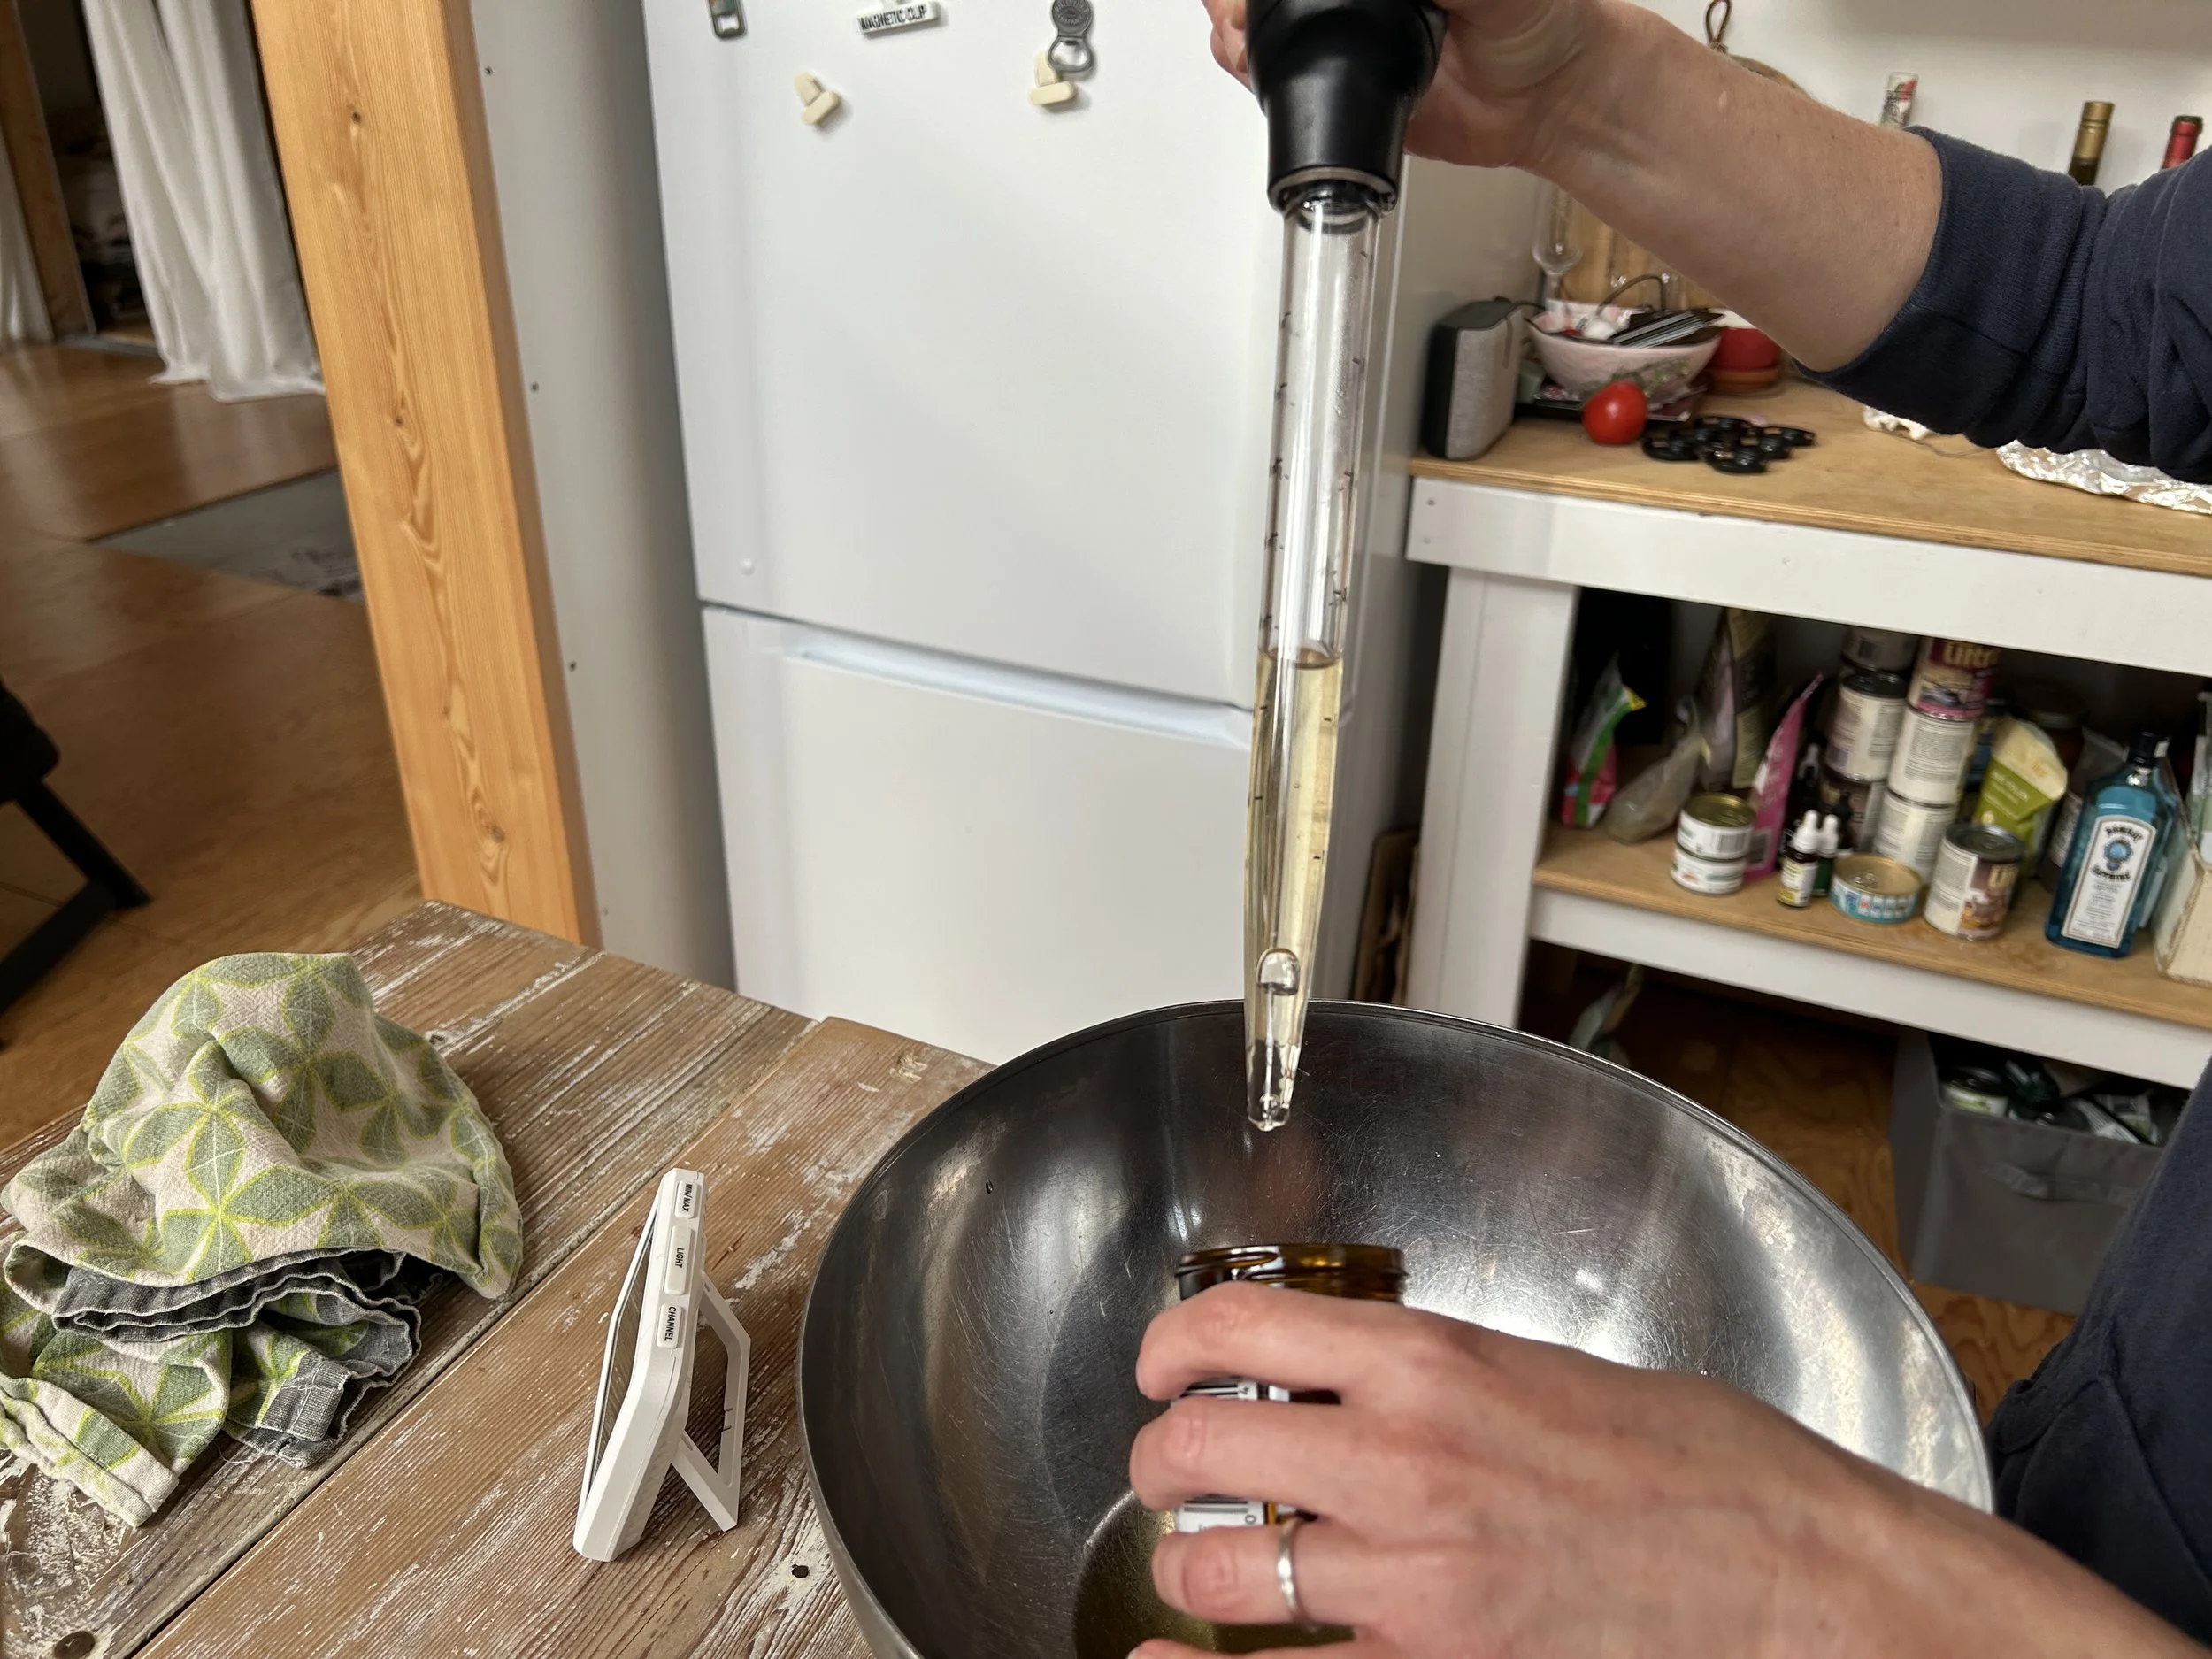
Step 7: Carefully pour the oil into your containers
I use a baster to make it a bit easier. For my everyday use oil, I use an old tincture bottle because the dropper is nice for daily application. The rest I store in a jar that I keep in the fridge.
I use my every night on my skin and my skin is LOVING IT!!!
Got any questions or comments? Comment below, jump to our private Facebook Group, or the Ask Lisa page :).

